Uploading documents
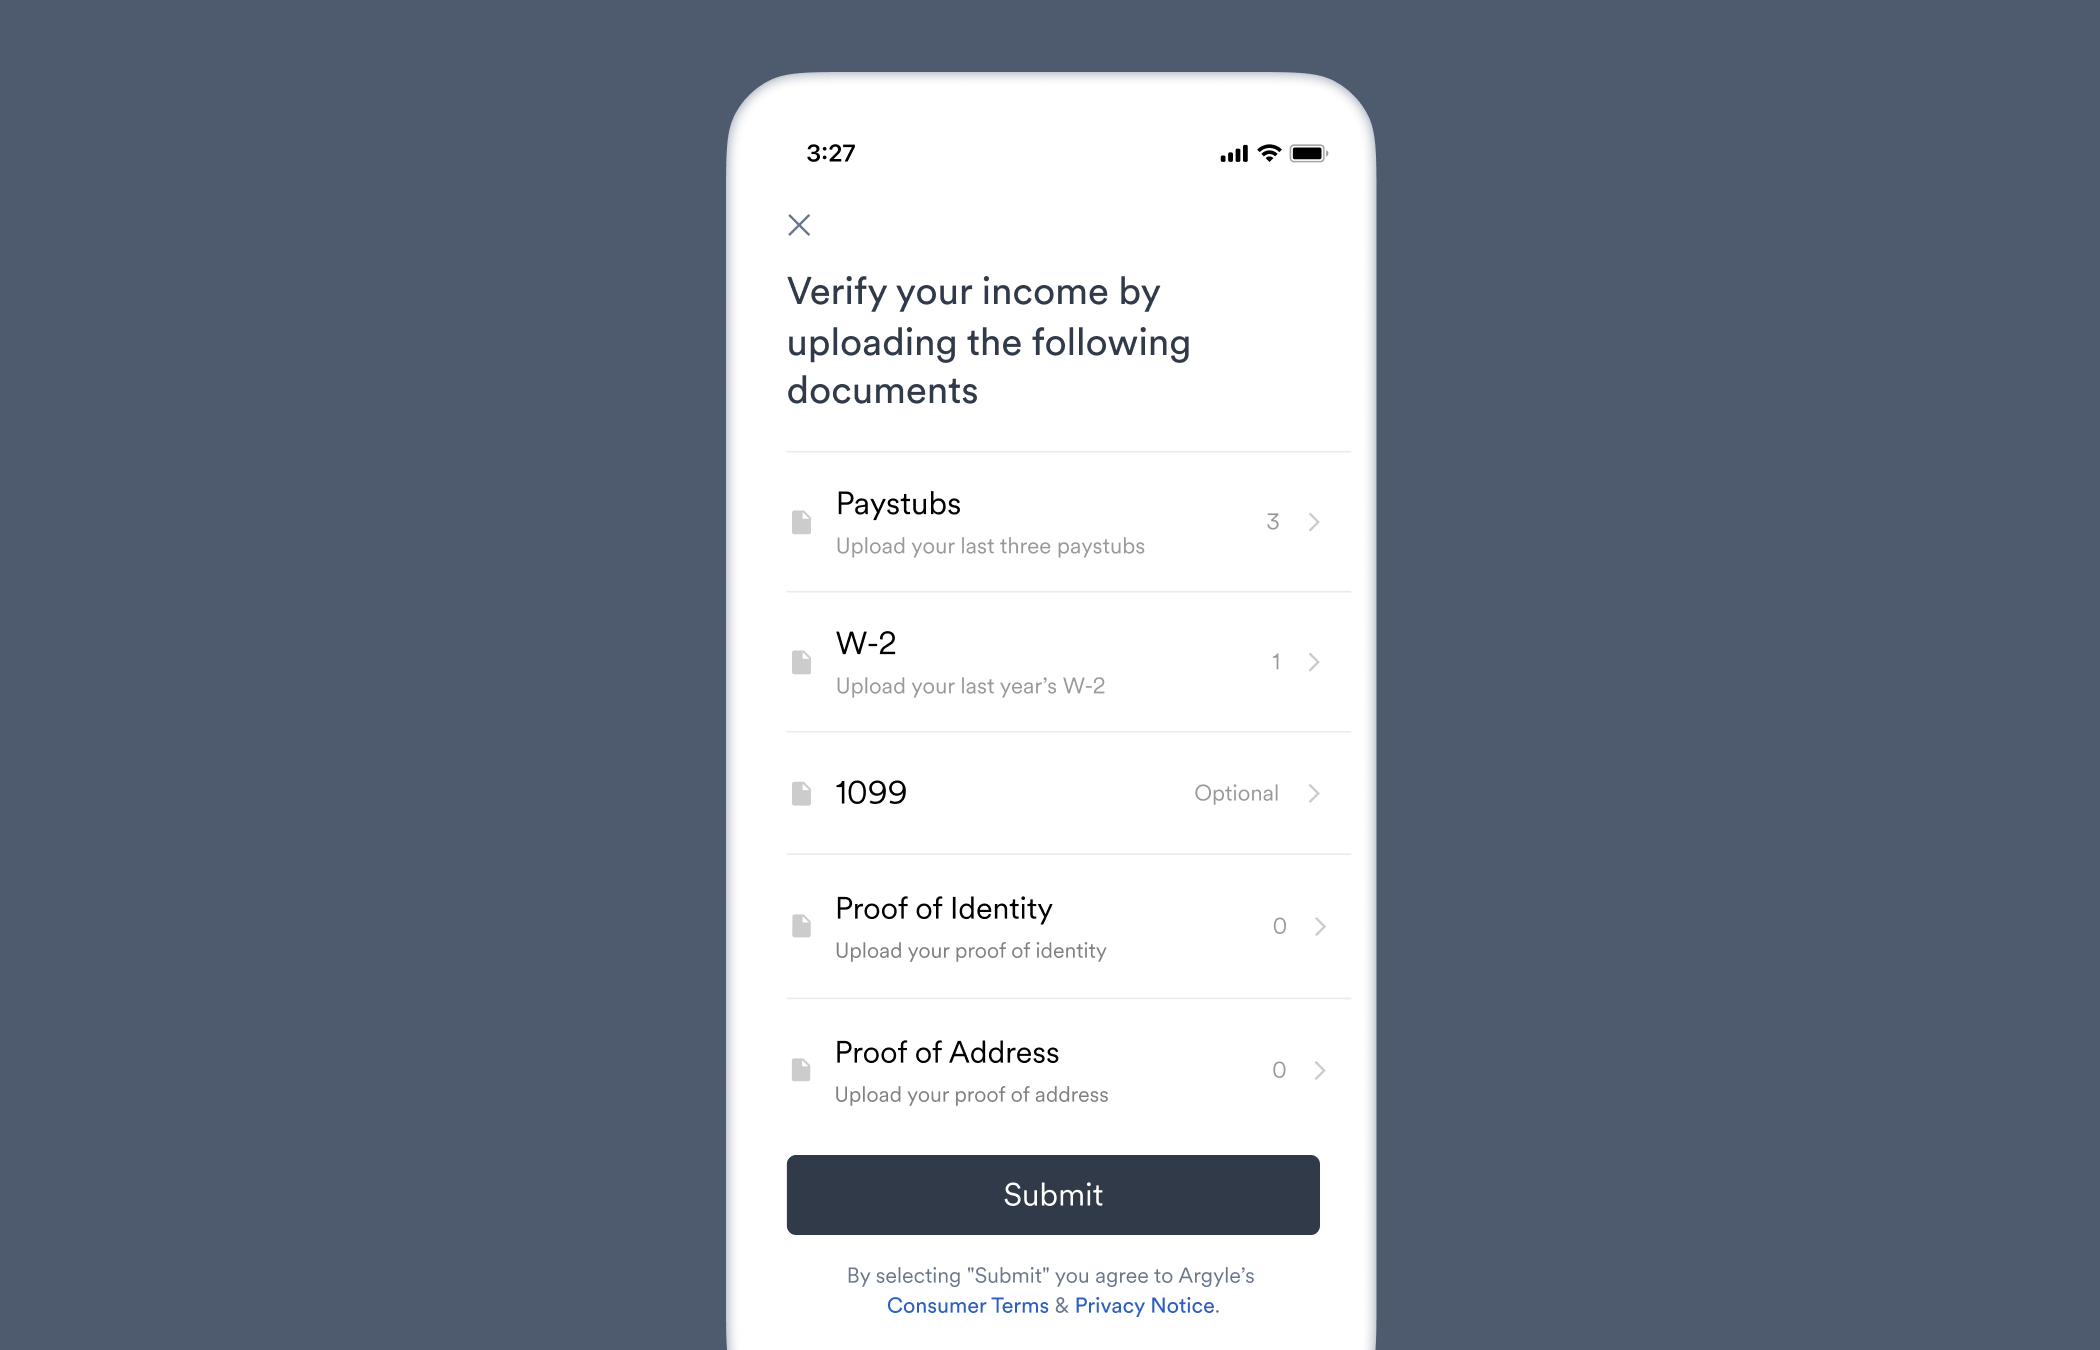
User uploads within Link
Document uploads can be enabled and customized through the Flows section of Console.How to enable document uploads on Link's intro screen
How to enable document uploads on Link's intro screen
- Create or edit an existing Flow.
- In the Intro screen section, enable the “Intro screen” and “Document upload” toggles.
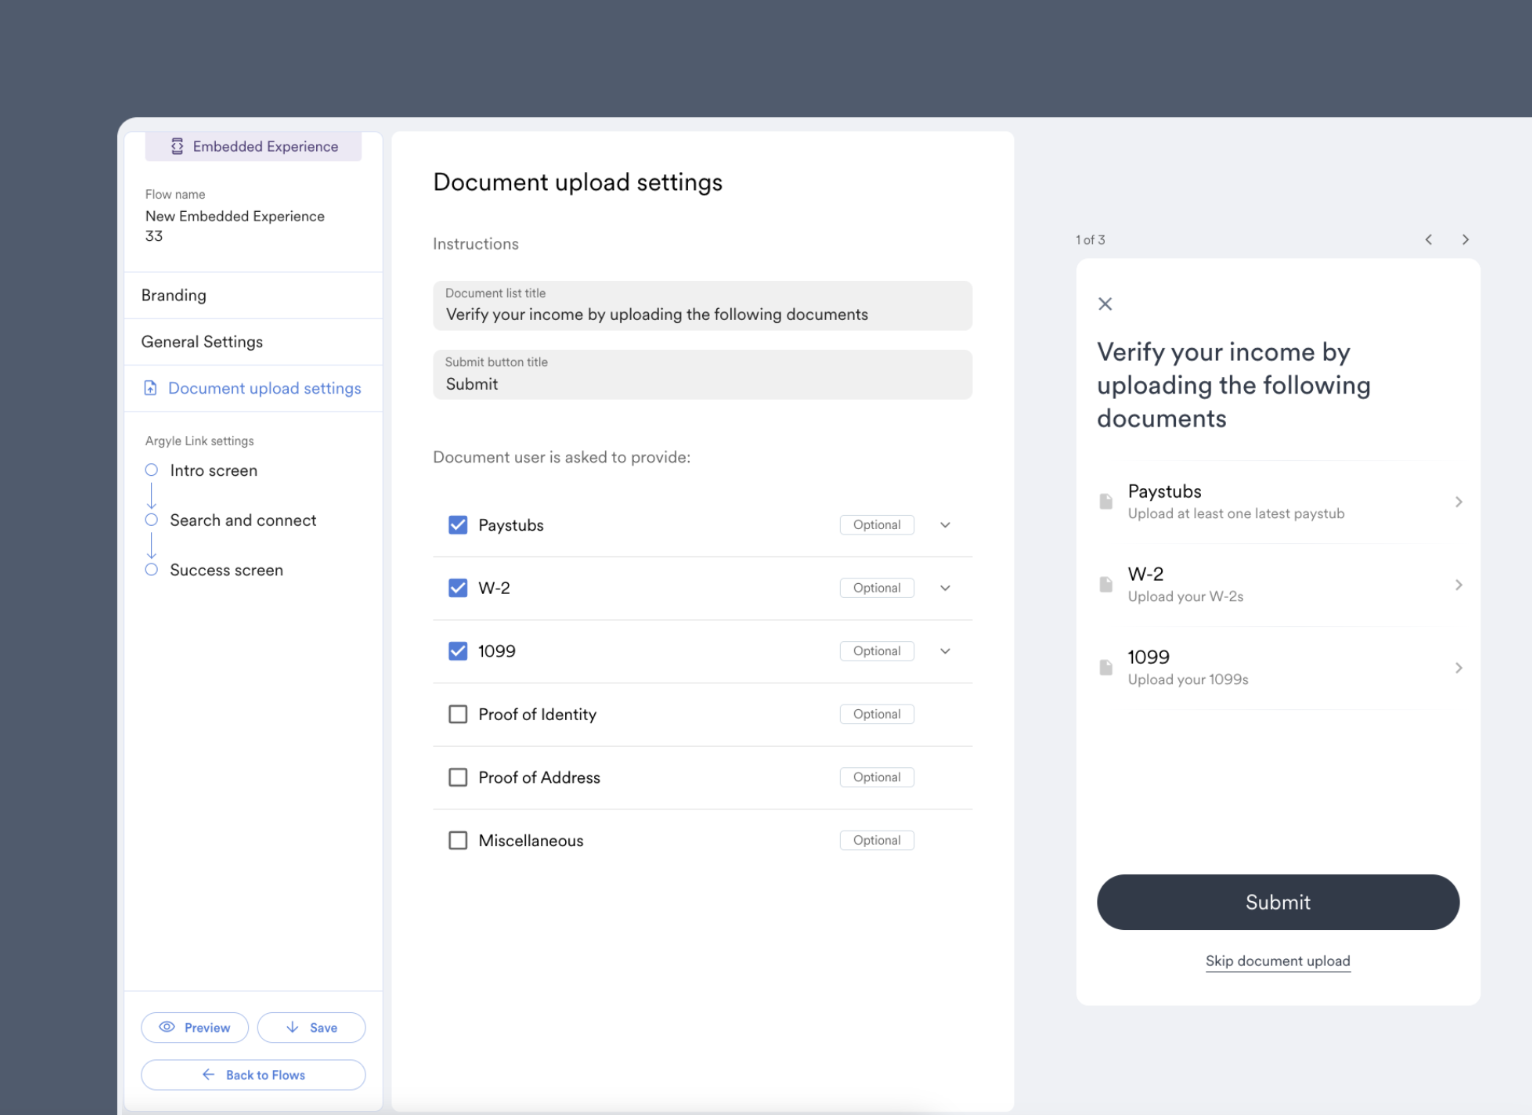
- In the Document upload settings section:
- Customize the text of the document upload submission screen.
- Select the document upload categories you would like to display. Choose whether a selected category is optional or required. If required, specify how many documents are needed for the category.
How to enable document uploads as a fallback (employer not found or incorrect login credentials)
How to enable document uploads as a fallback (employer not found or incorrect login credentials)
- Create or edit an existing Flow.
- In the Search and connect section, scroll down to Fallback experiences and select the “Document upload” toggle for one or both fallback scenarios:
- User finds no search results (not applicable to Direct login flows): Users are prompted to upload documents when they are unable to locate their employer or payroll provider through Link search.
- User provides incorrect credentials: Users are prompted to upload documents when a payroll connection attempt is unsuccessful.
- In the Document upload settings section:
- Customize the text of the document upload submission screen.
- Select the document upload categories you would like to display. Choose whether a selected category is optional or required. If required, specify how many documents are needed for the category.
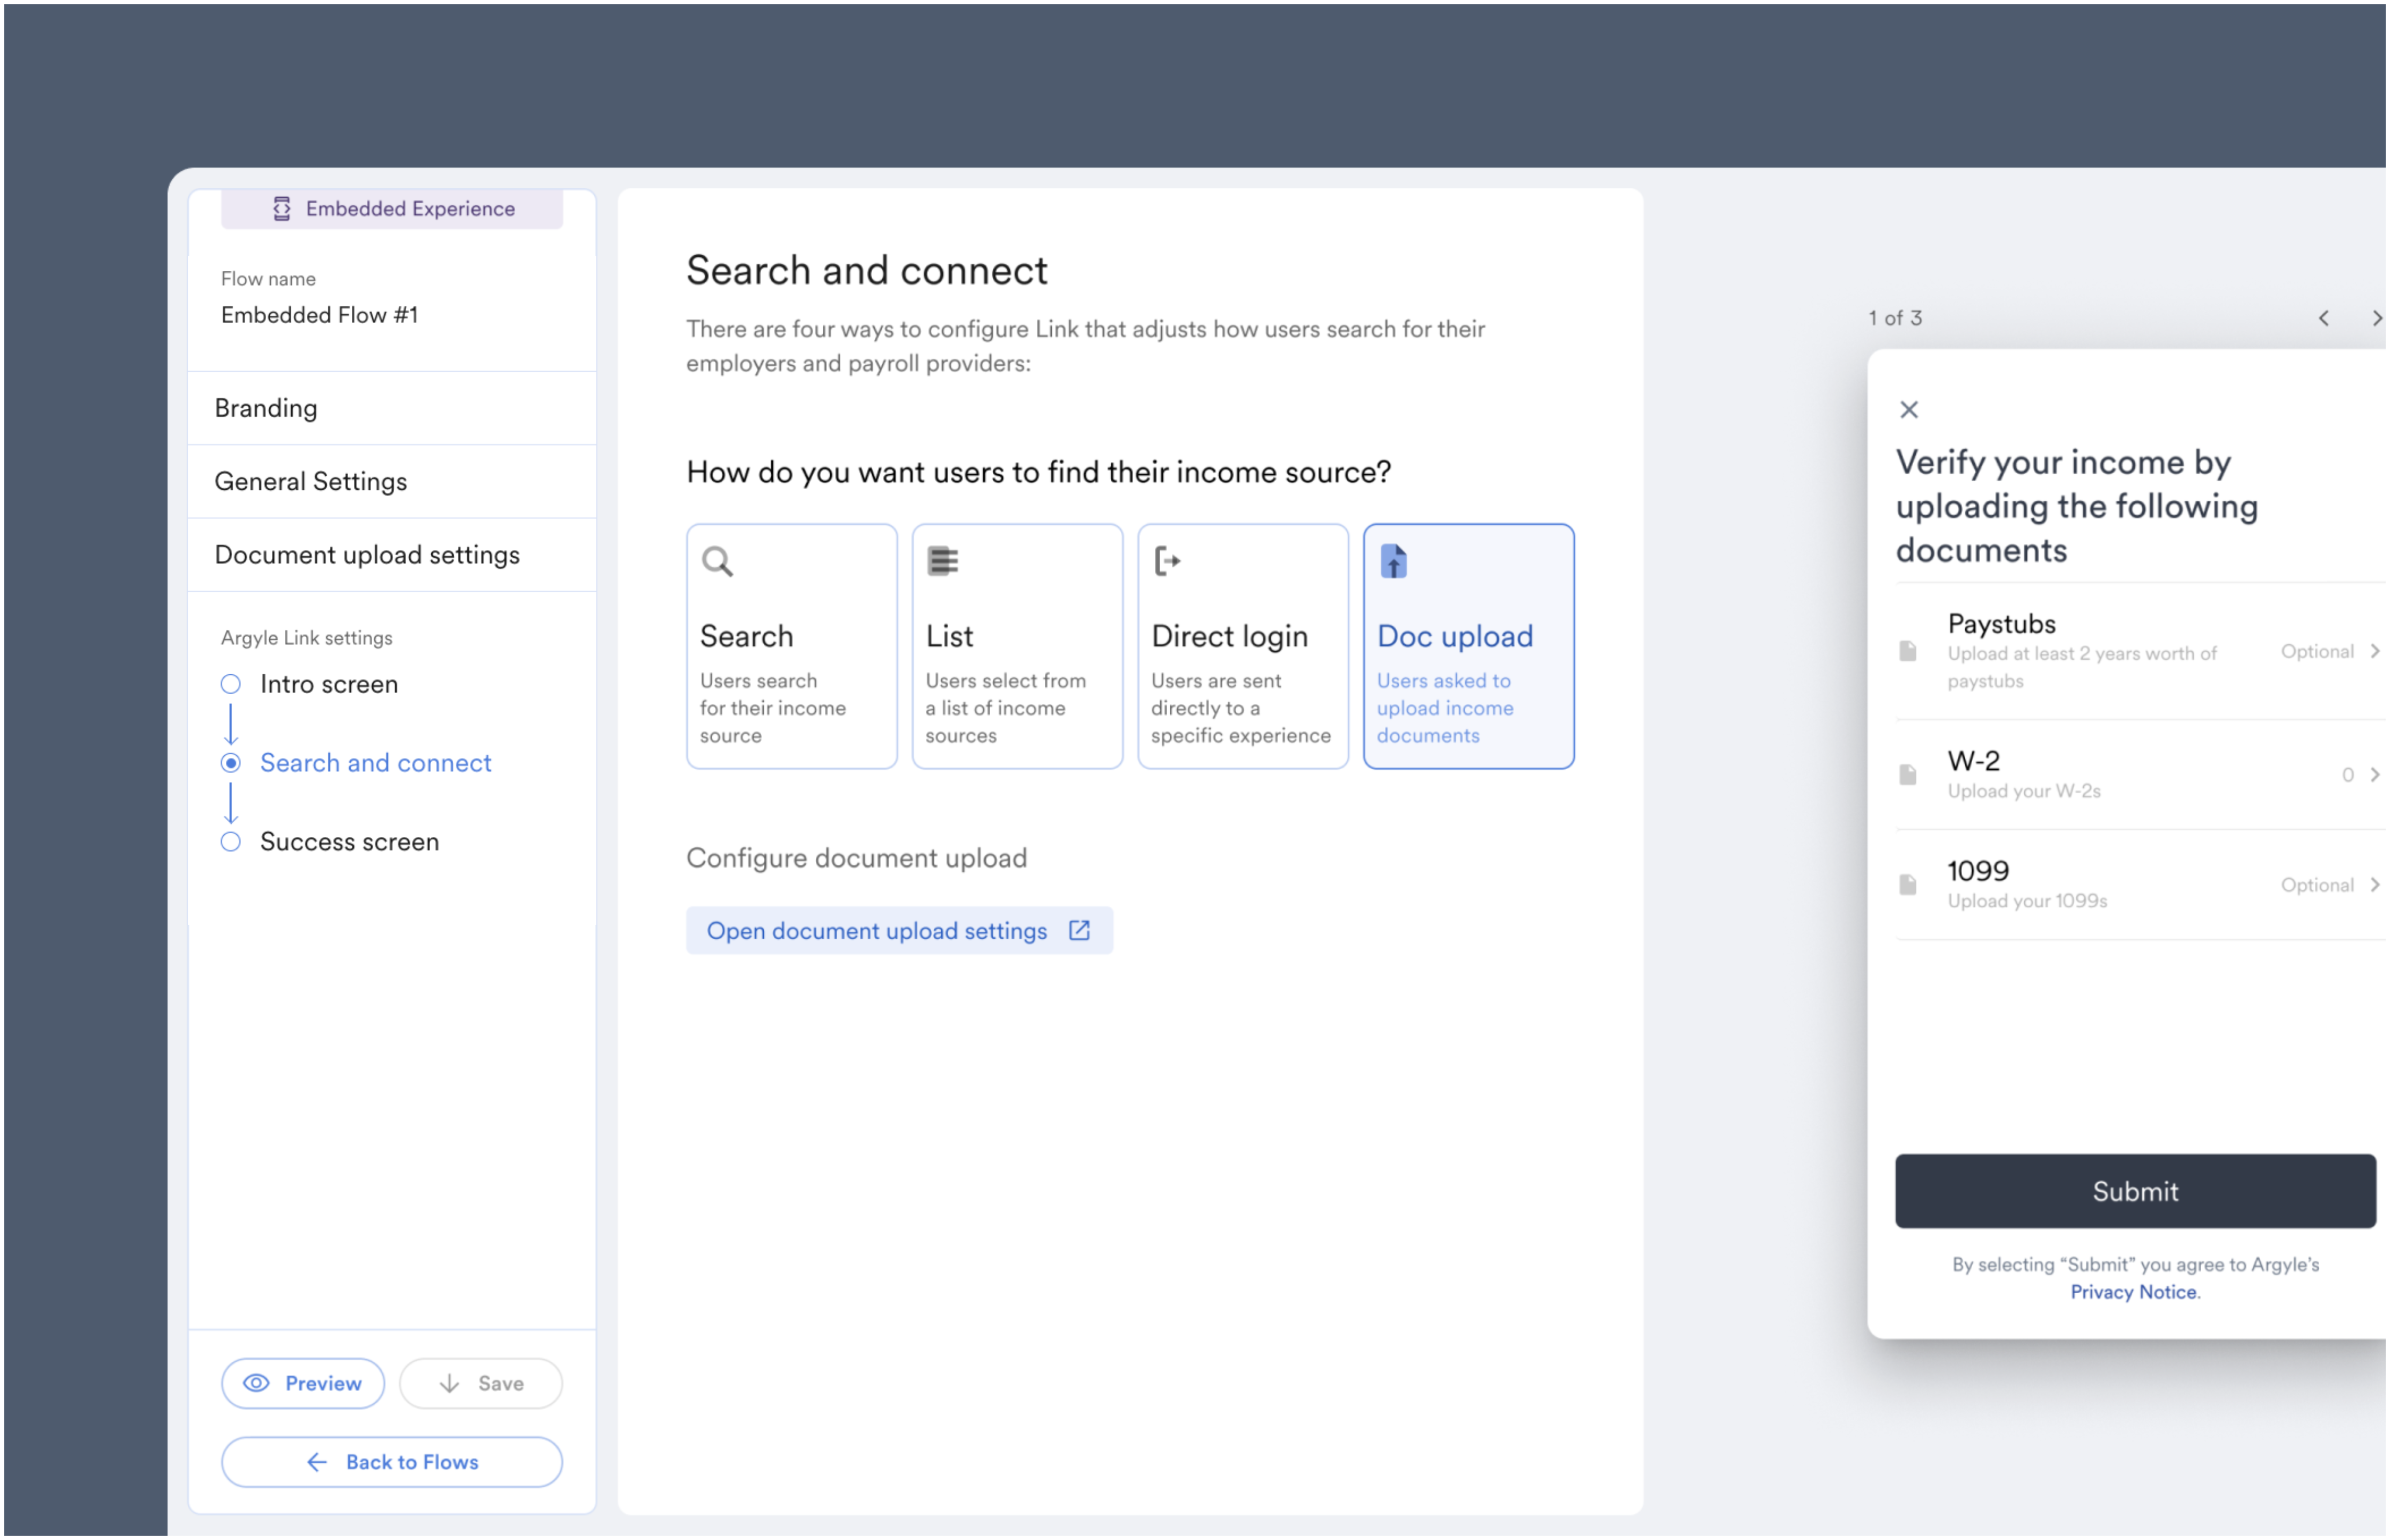
How to disable payroll search and only allow document uploads
How to disable payroll search and only allow document uploads
- Create or edit an existing Flow.
- In the Search and connect section, select “Doc upload”.
- In the Document upload settings section:
- Customize the text of the document upload submission screen.
- Select the document upload categories you would like to display. Choose whether a selected category is optional or required. If required, specify how many documents are needed for the category.
How to enable document uploads on Link's success screen (after an account connection)
How to enable document uploads on Link's success screen (after an account connection)
- Create or edit an existing Flow.
- In the Success screen section, select “Allow users to upload documents after a successful connection”.
- In the Document upload settings section:
- Customize the text of the document upload submission screen.
- Select the document upload categories you would like to display. Choose whether a selected category is optional or required. If required, specify how many documents are needed for the category.
If all document categories are marked as Optional, the option to “Skip document upload” will be presented to users:
- Shareable URLs — Document uploads will be active when any user enters Link through your saved shareable URL.
- Email/SMS Templates — When inviting new users, select the Flow from the Template dropdown.
- Embedded Experiences — Copy the Flow ID from Console and add the following line to your Link initialization:
Additional uploads (returning users)
When document uploads are enabled, users can return to Link and upload additional documents or delete previously uploaded documents. Any category limits (i.e. 3 max paystubs) you set when enabling document uploads will persist for returning users.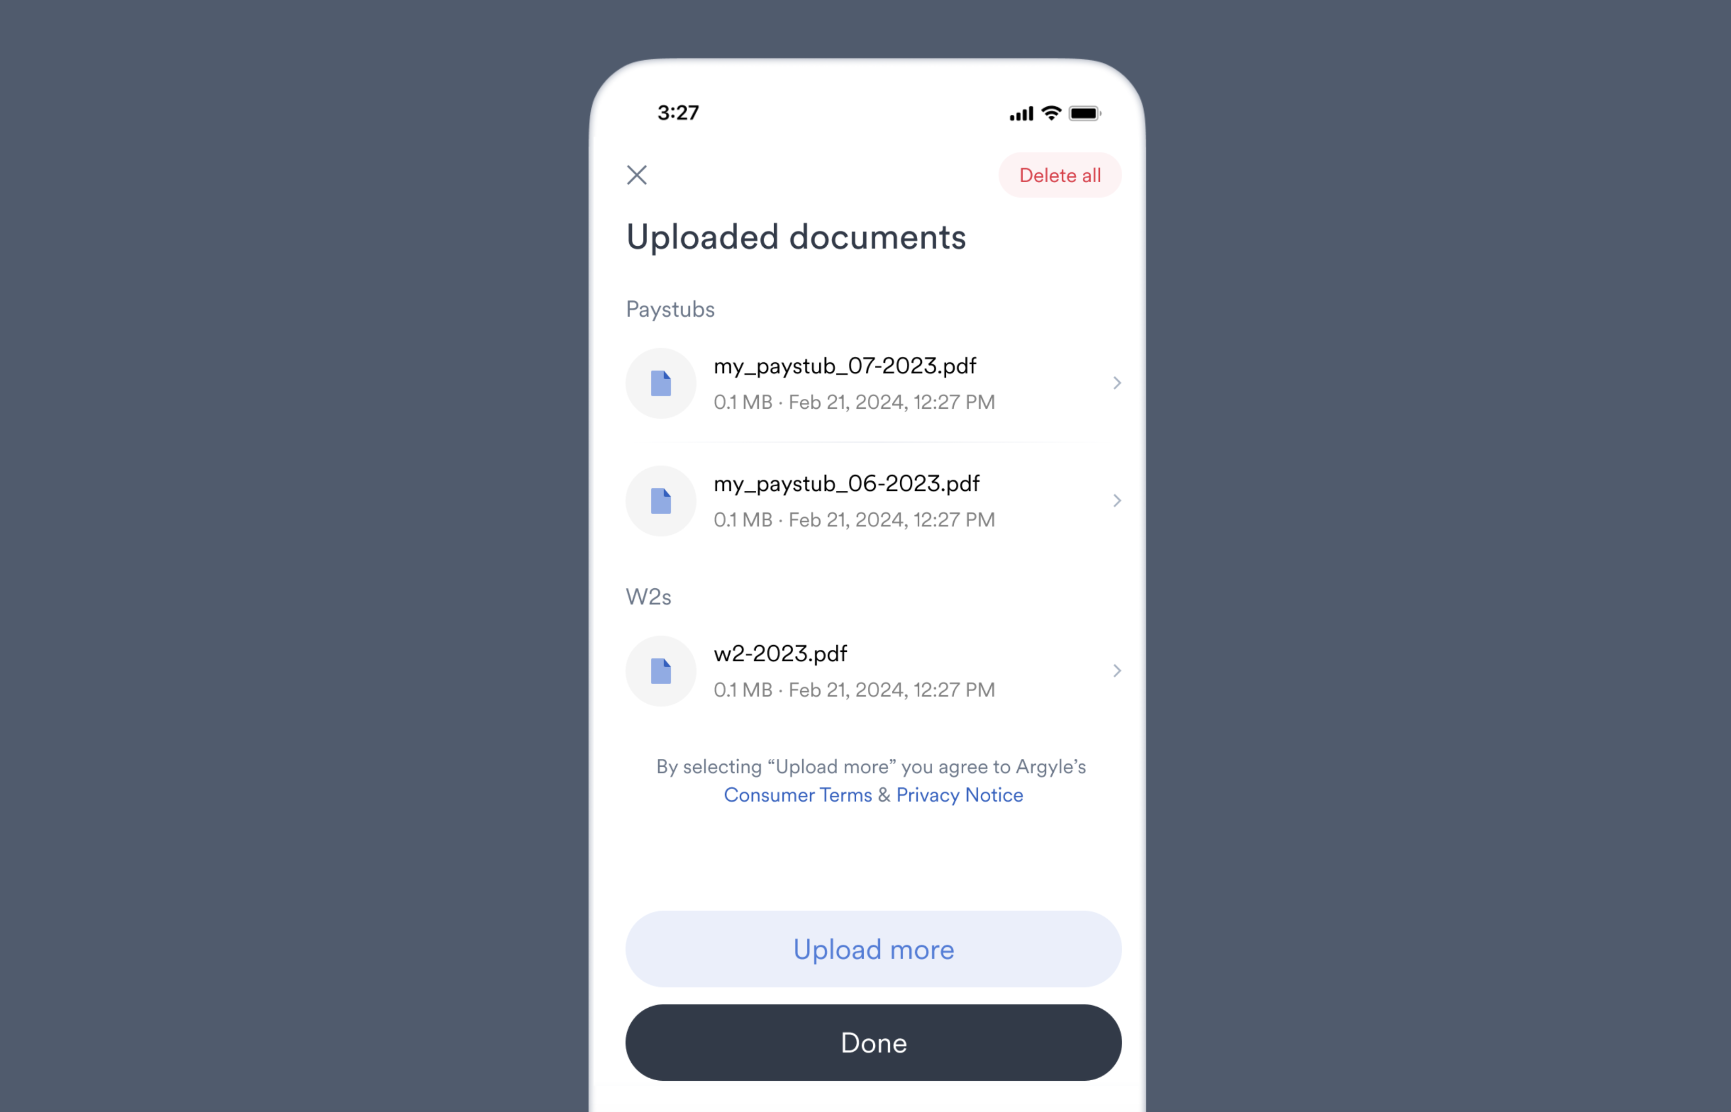
Direct uploads via the API
If you already collect documents outside of Link, they can be uploaded directly via the API by sending aPOST request to the /user-uploads endpoint.
Uploading documents via the API can be used in combination with document authenticity and OCR. OCR and authenticity information can also be retrieved via the API — see our OCR guide for more information.
Retrieving uploaded documents
Uploaded documents can be retrieved via Argyle’s API through the/user-uploads endpoint. Argyle also provides webhooks for uploaded documents and the onDocumentsSubmitted callback.
Uploaded documents can also be retrieved within the Connections section of Console after selecting an individual user. Any uploaded documents will be available for download in an Uploaded documents tab.

Document authenticity and OCR
Argyle offers uploaded document processing through Ocrolus. The text within uploaded documents is scanned (OCR), and the authenticity of the document is evaluated. The results are made available to view directly in Console or retrieve via Argyle’s API.
Supported file types
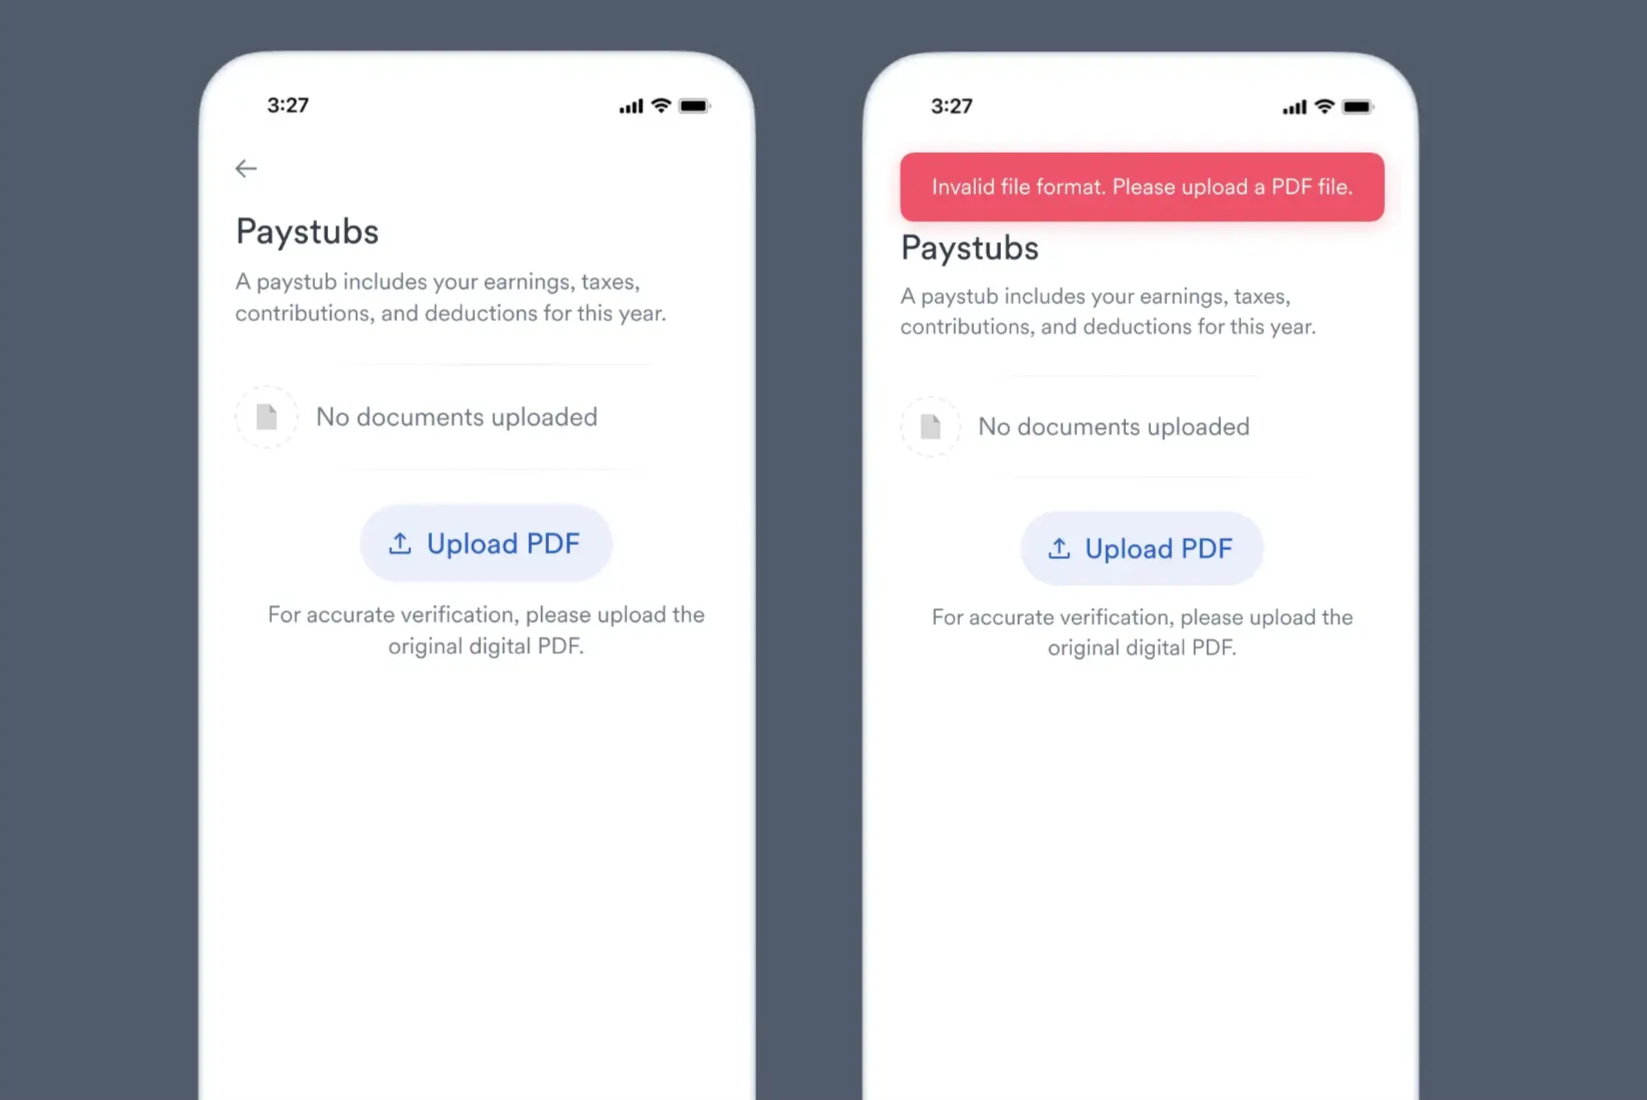
Restricting to only PDFs
Document uploads can be restricted to only PDF file types by enabling the Restrict to PDF only toggle for each document type in the Flows section of Console.