

Start customizing
To start customizing Link, open Flows then select an existing customization or create a new one. Name your customization to differentiate between your customization use cases.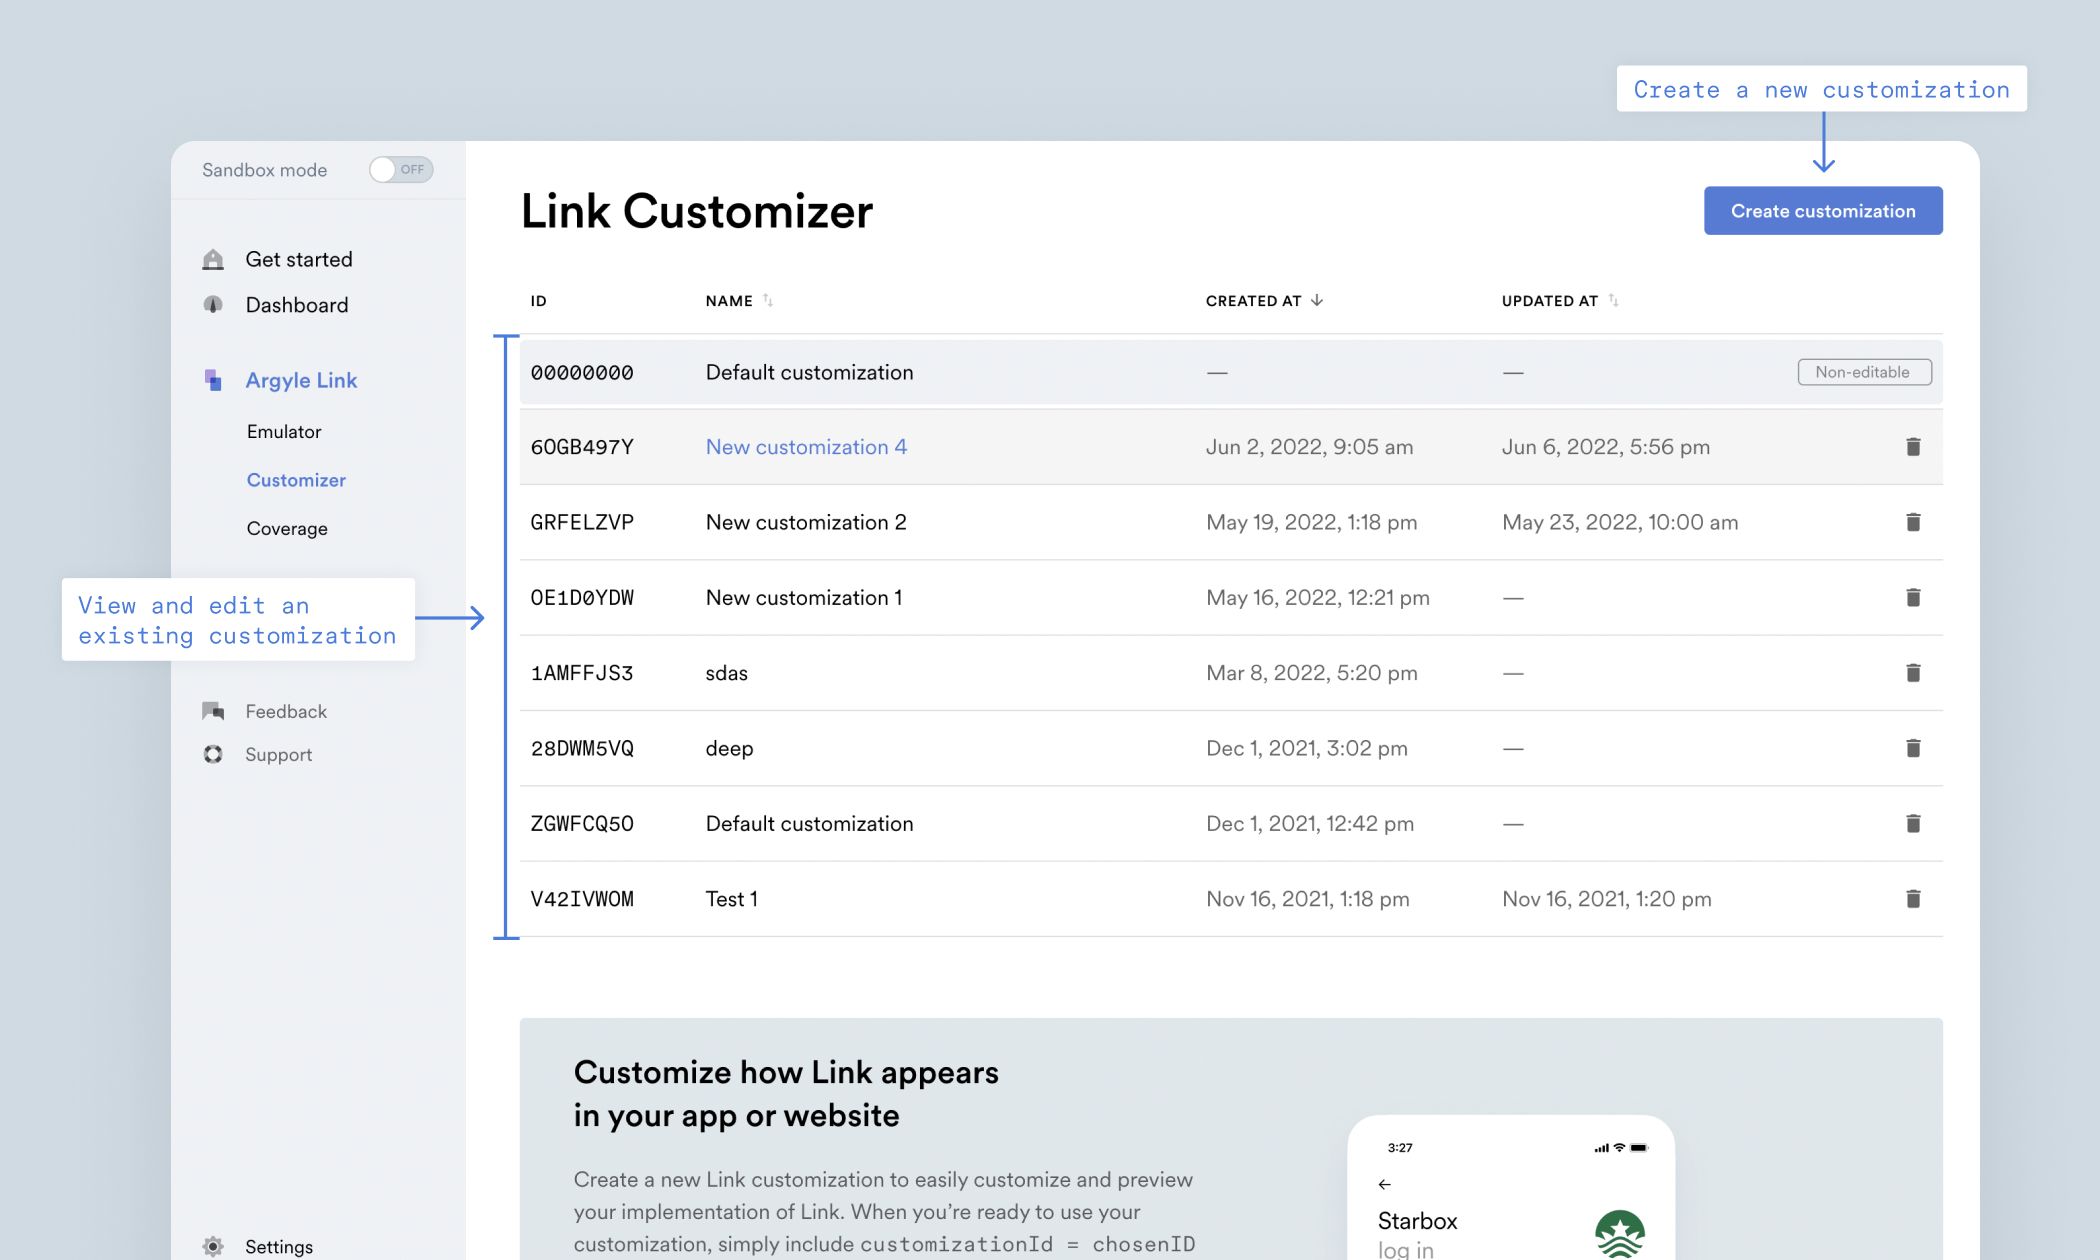
Set available income sources
On this screen, you can customize these features under the Search, List, and Deep link sections:Search
Customize your Link search settings to help your users find relevant Link items faster. Here you can view the Link items that your users can search. Under Available categories of Link items, tick the boxes of the categories you wish to display. You can display Employers, Gig platforms, and/or Payroll providers.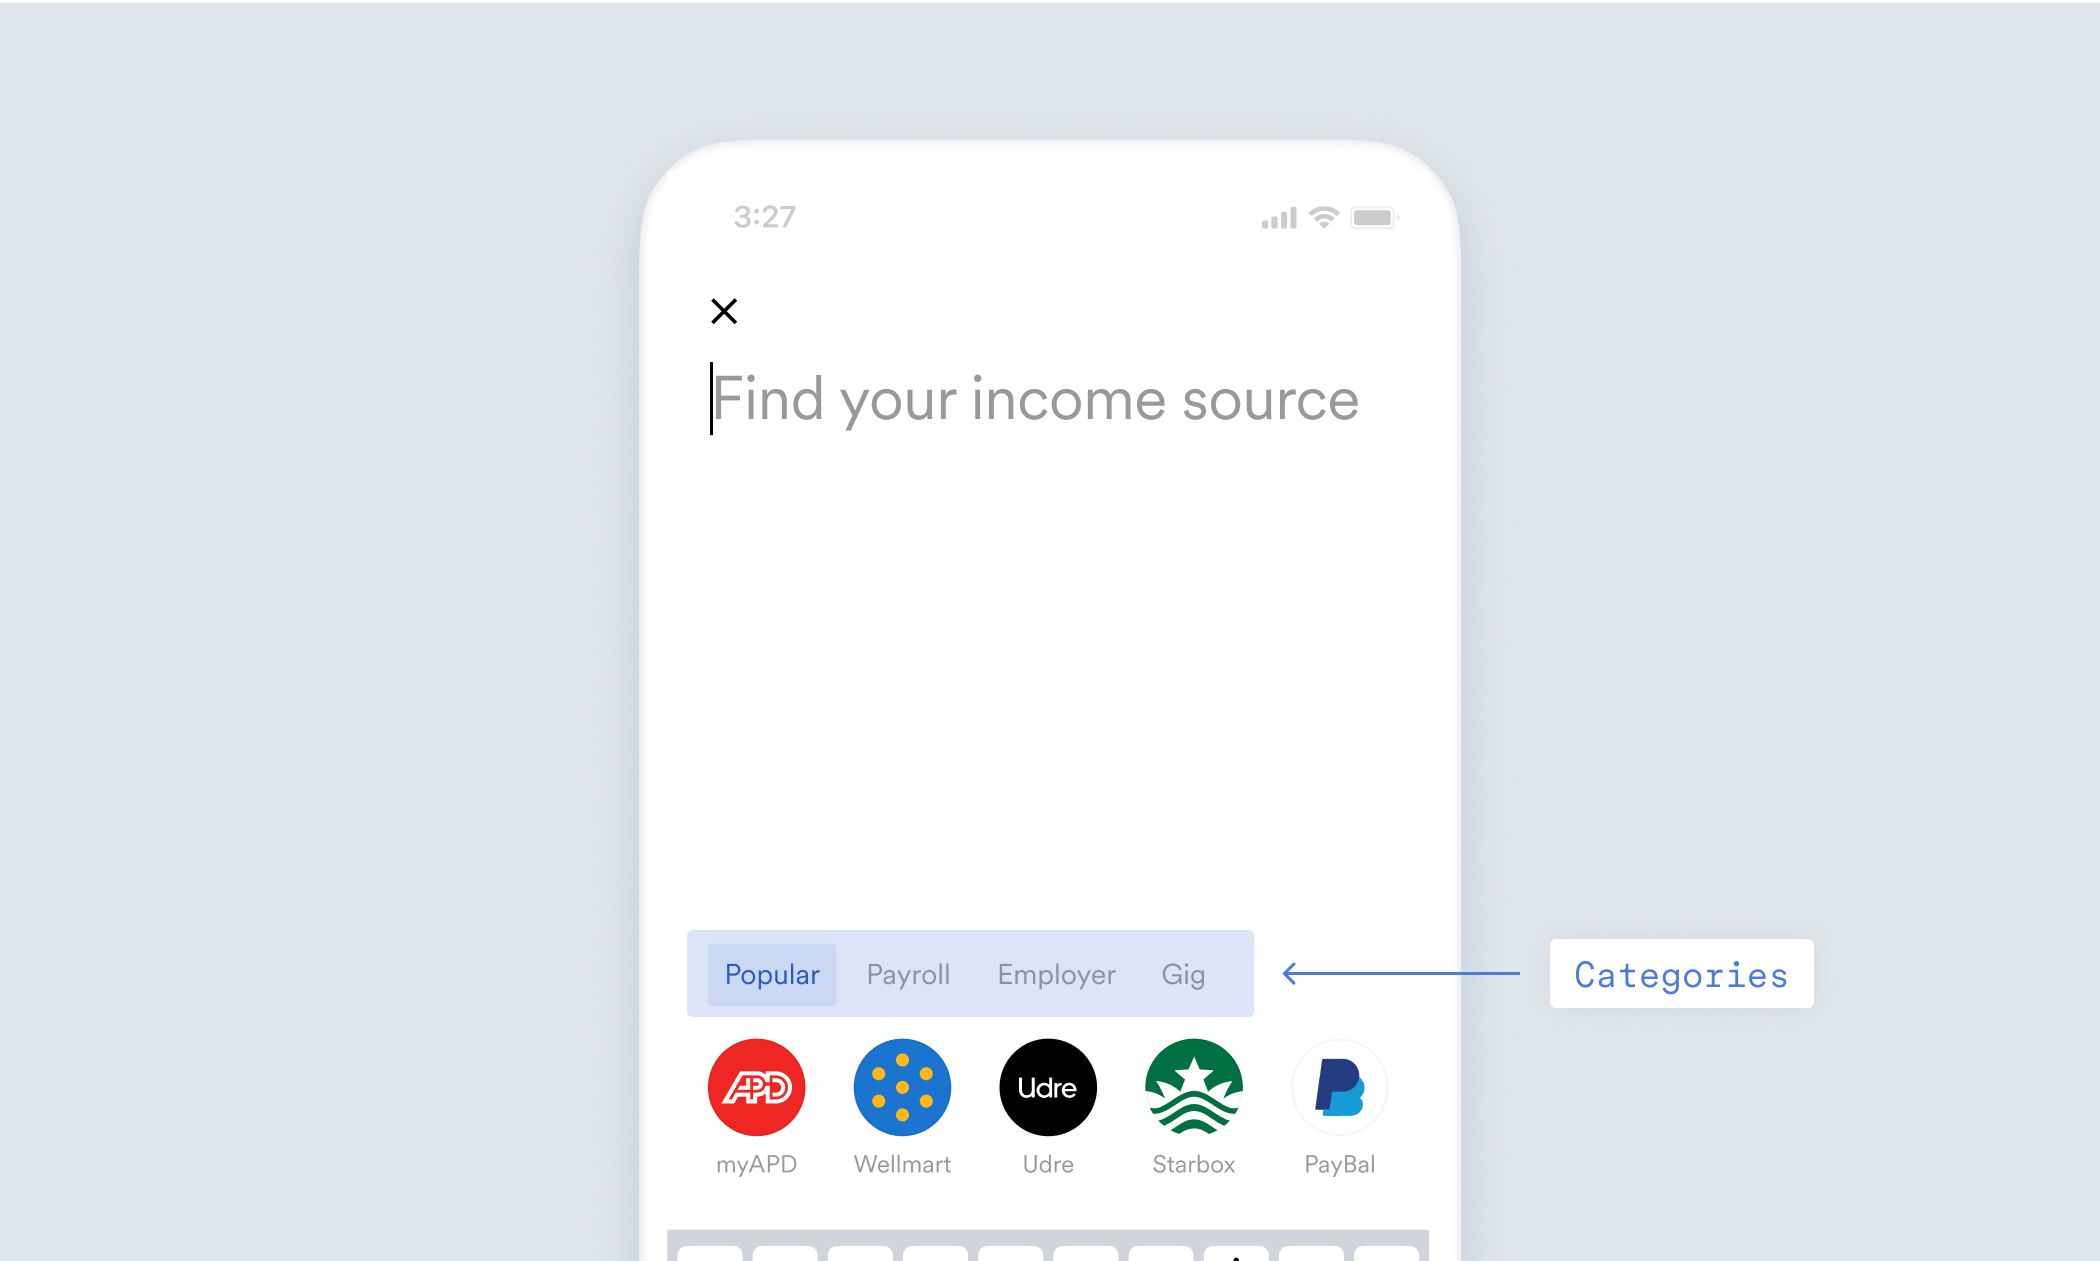 You also have the option to exclude specific Link items that you do not wish to make available, or to surface only those Link items that support direct deposit switching.
List
Specify the Link items you want to make available to your users. Your users see only the Link items that you have selected.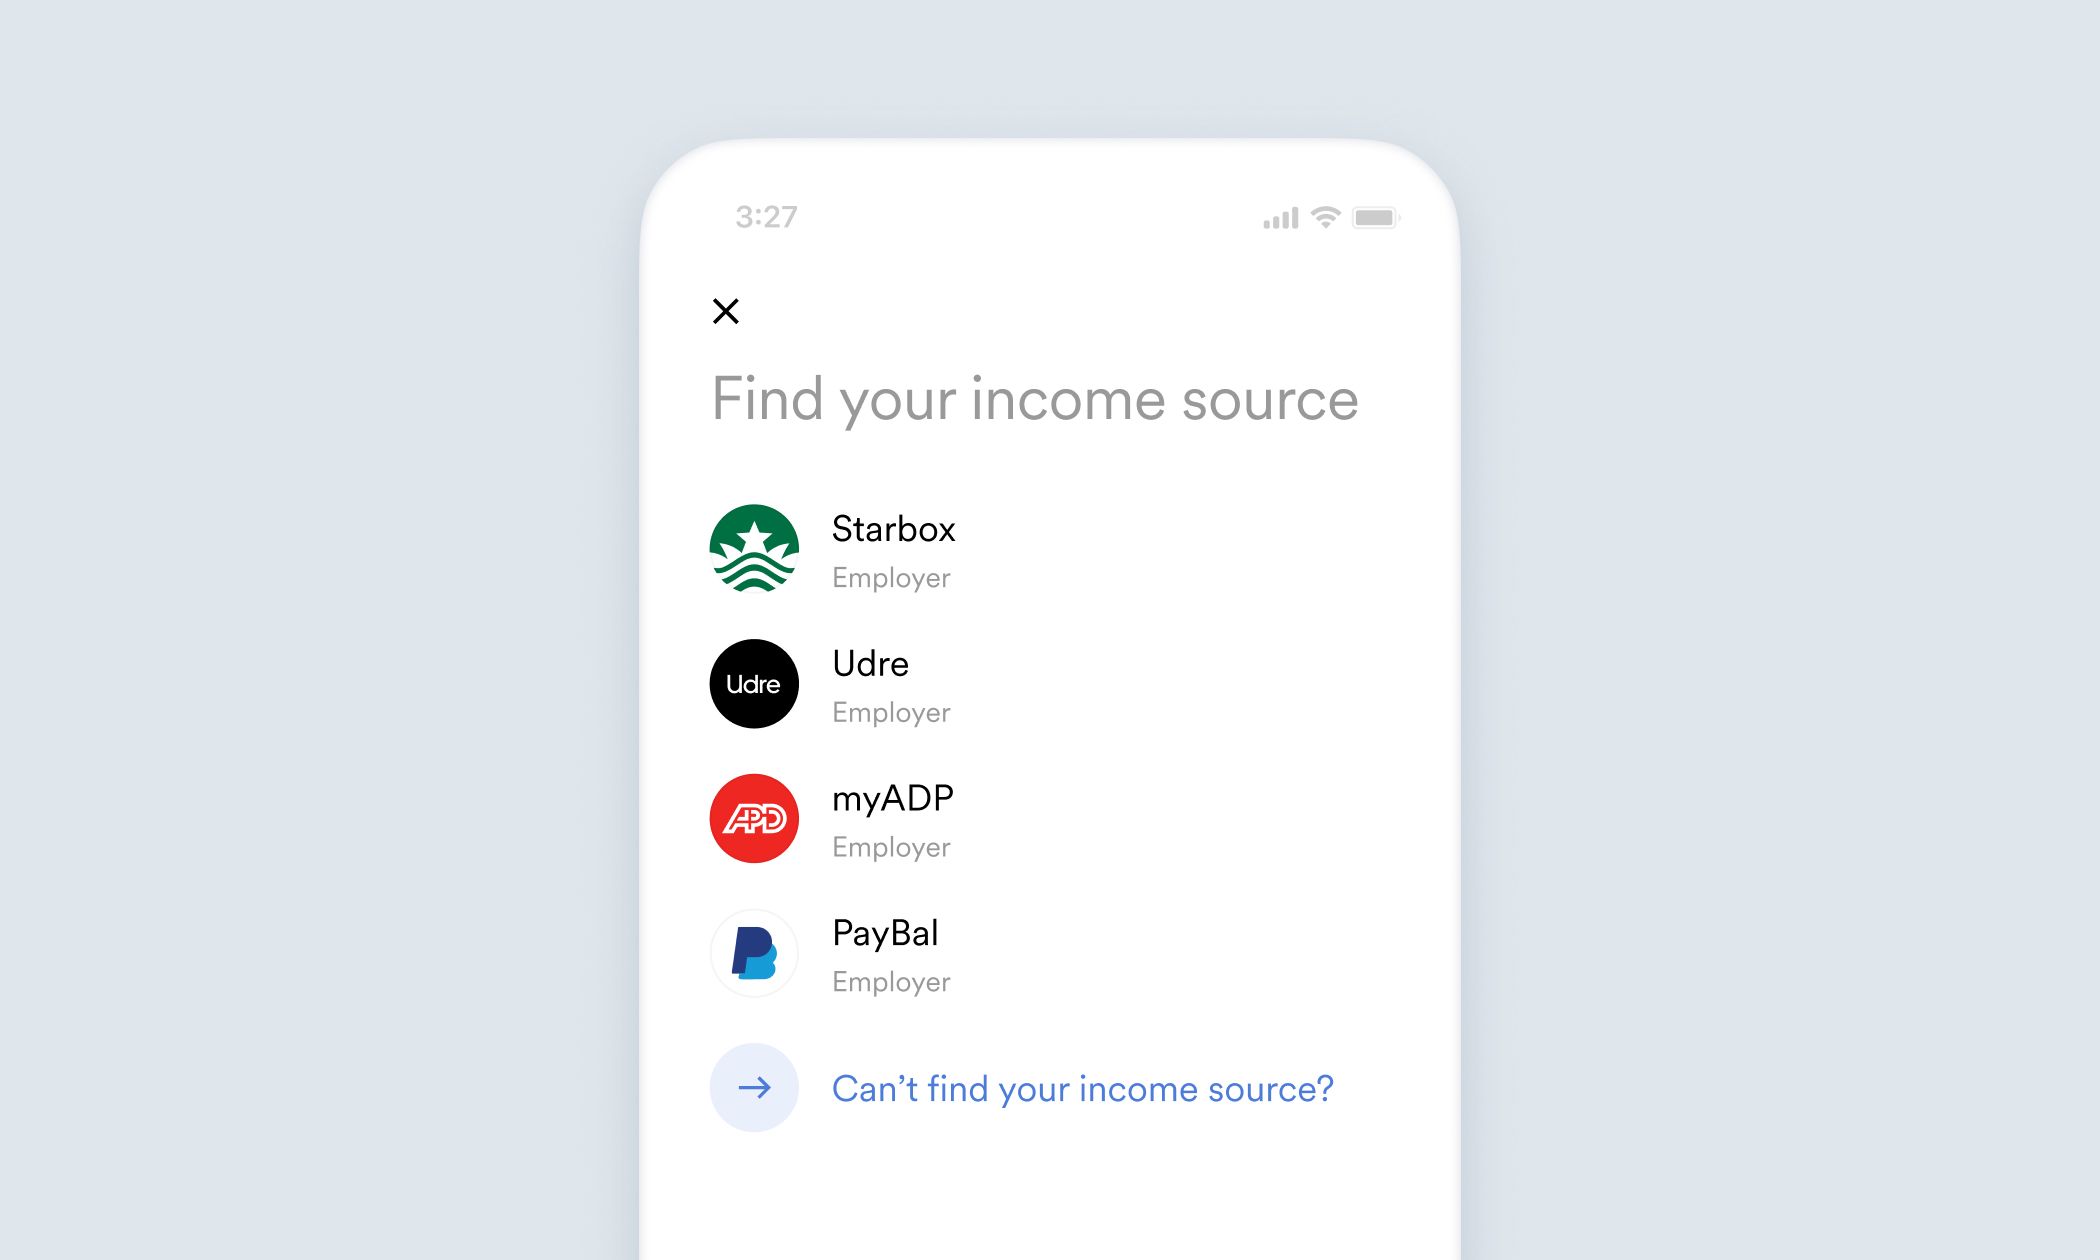
Deep link
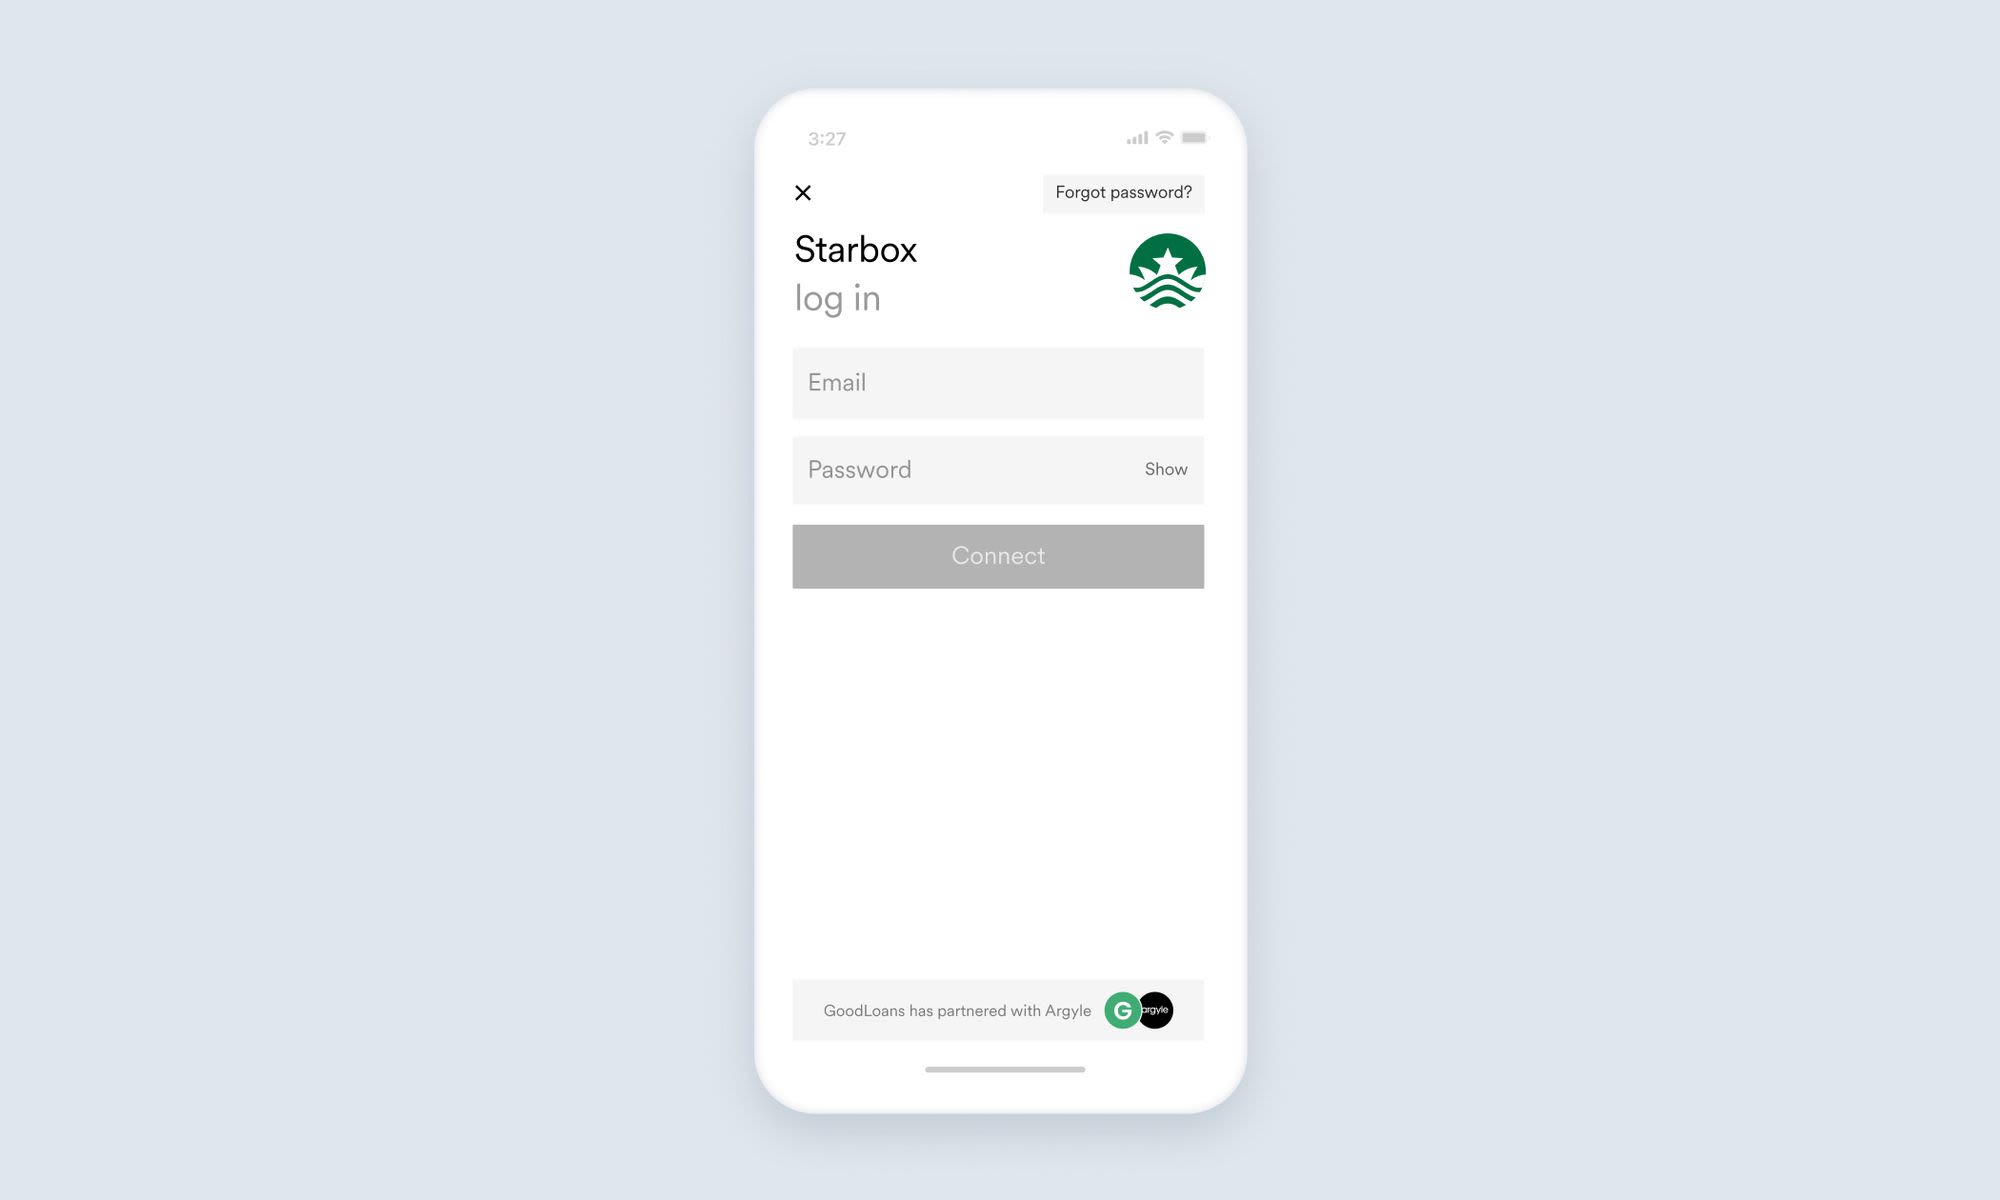
In some cases, you may want to deep link your users to connect them to one specific Link item. When your users open Argyle Link, they are prompted to log in to the deep linked Link item. You can also choose to deep link your users to the document upload experience. This user flow allows users to upload W-2 forms, 1099 forms, and paystubs. Include acustomizationId in your Link initialization to see this option. To make this option available for returning users, you must also include a userToken in your Link initialization.
Intro screen
In your Argyle Link implementation, the Intro screen provides context for your users on the service they are using. The Intro screen is enabled by default. Customize this screen to match the style of your own application and suit your business needs. Select Intro from the Customizer sidebar to design your Intro screen. From here you can customize: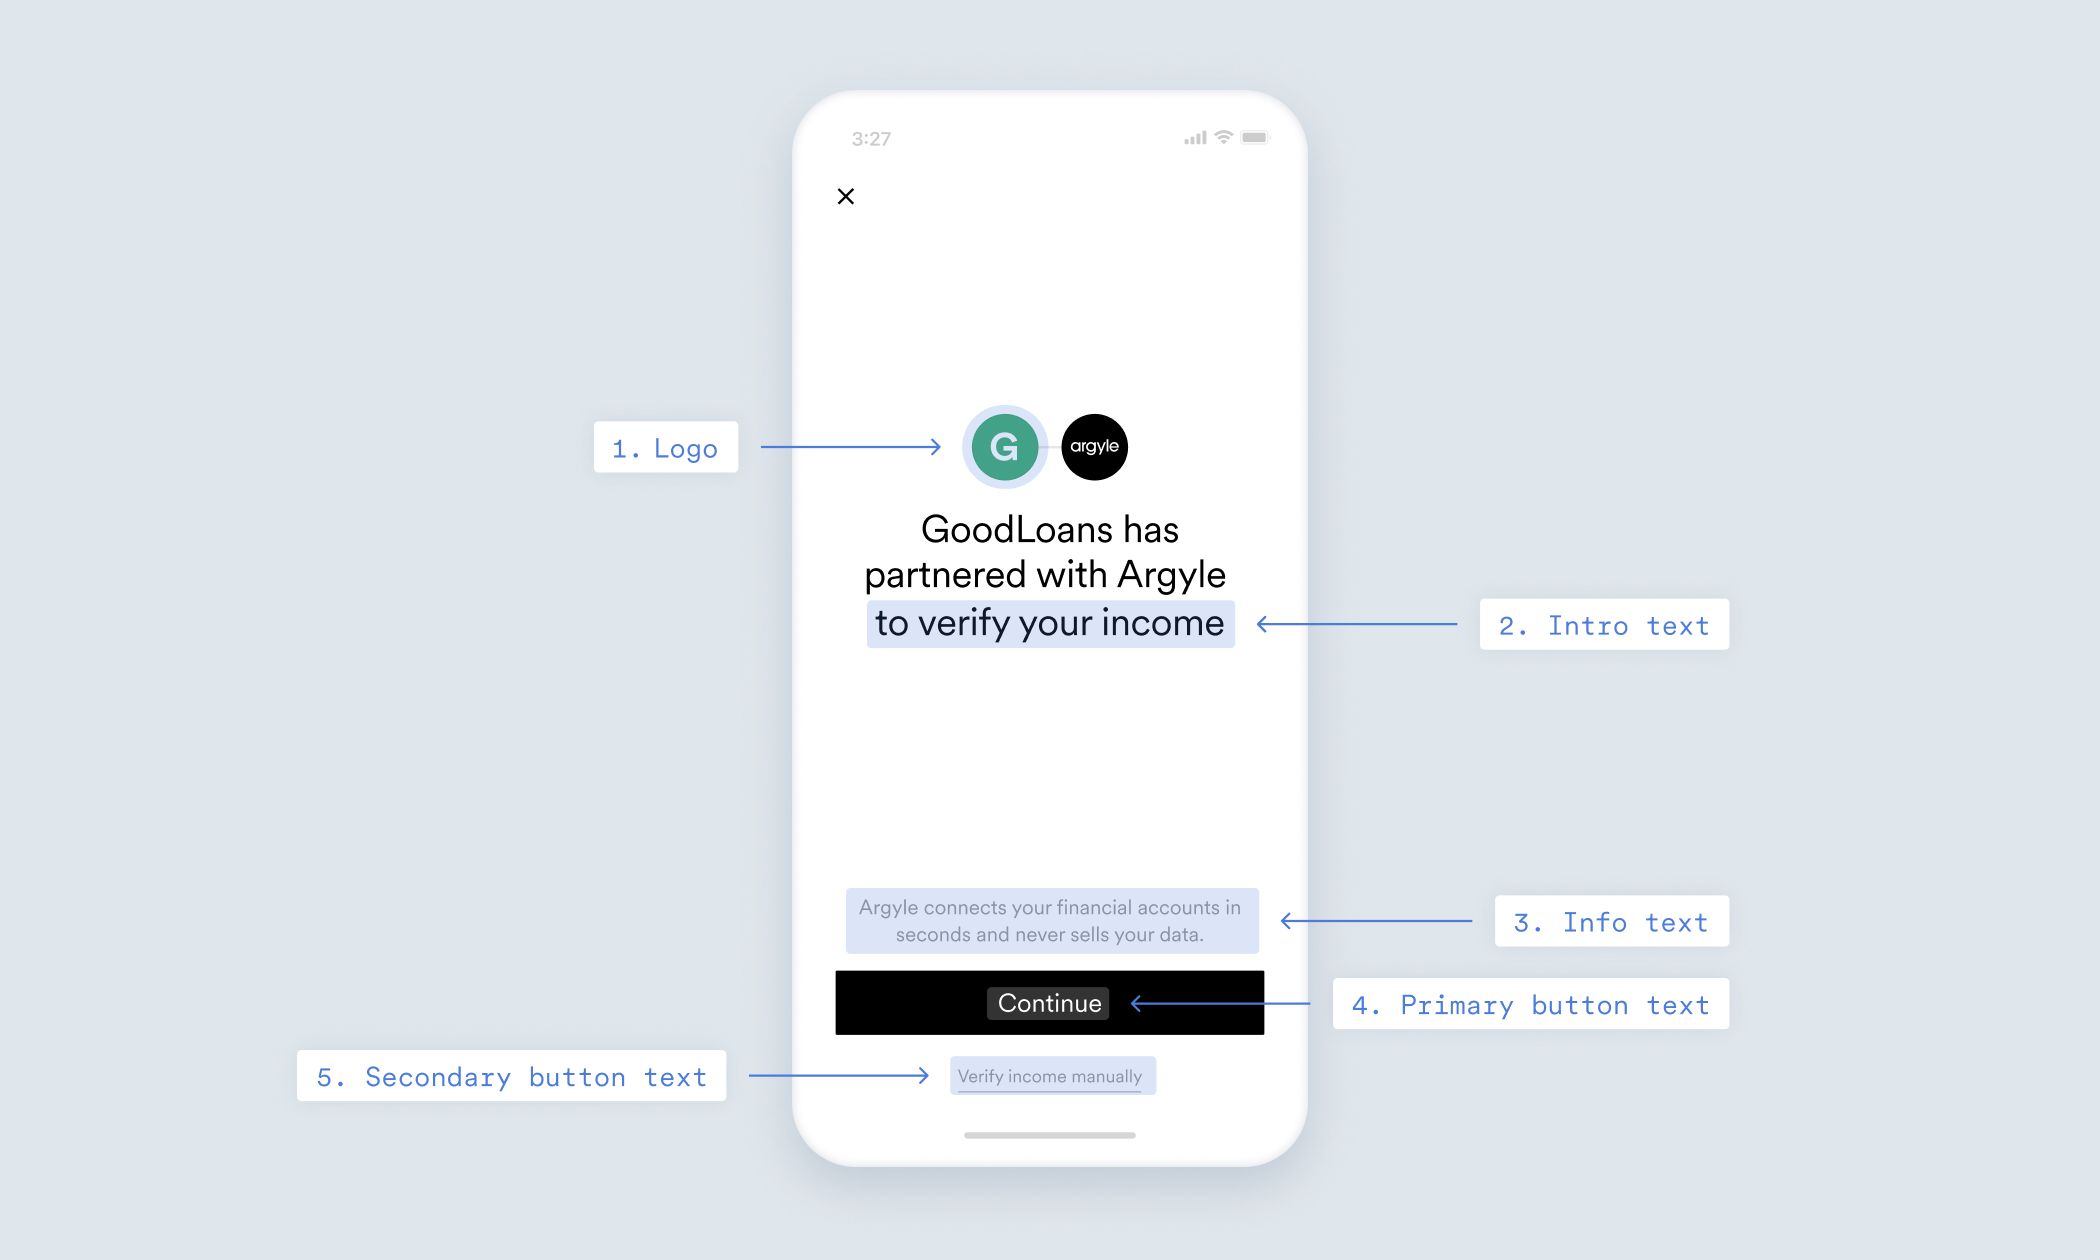
Select income source screen
You can customize your users’ search experience to help guide them to the correct Link items. From this screen you can customize: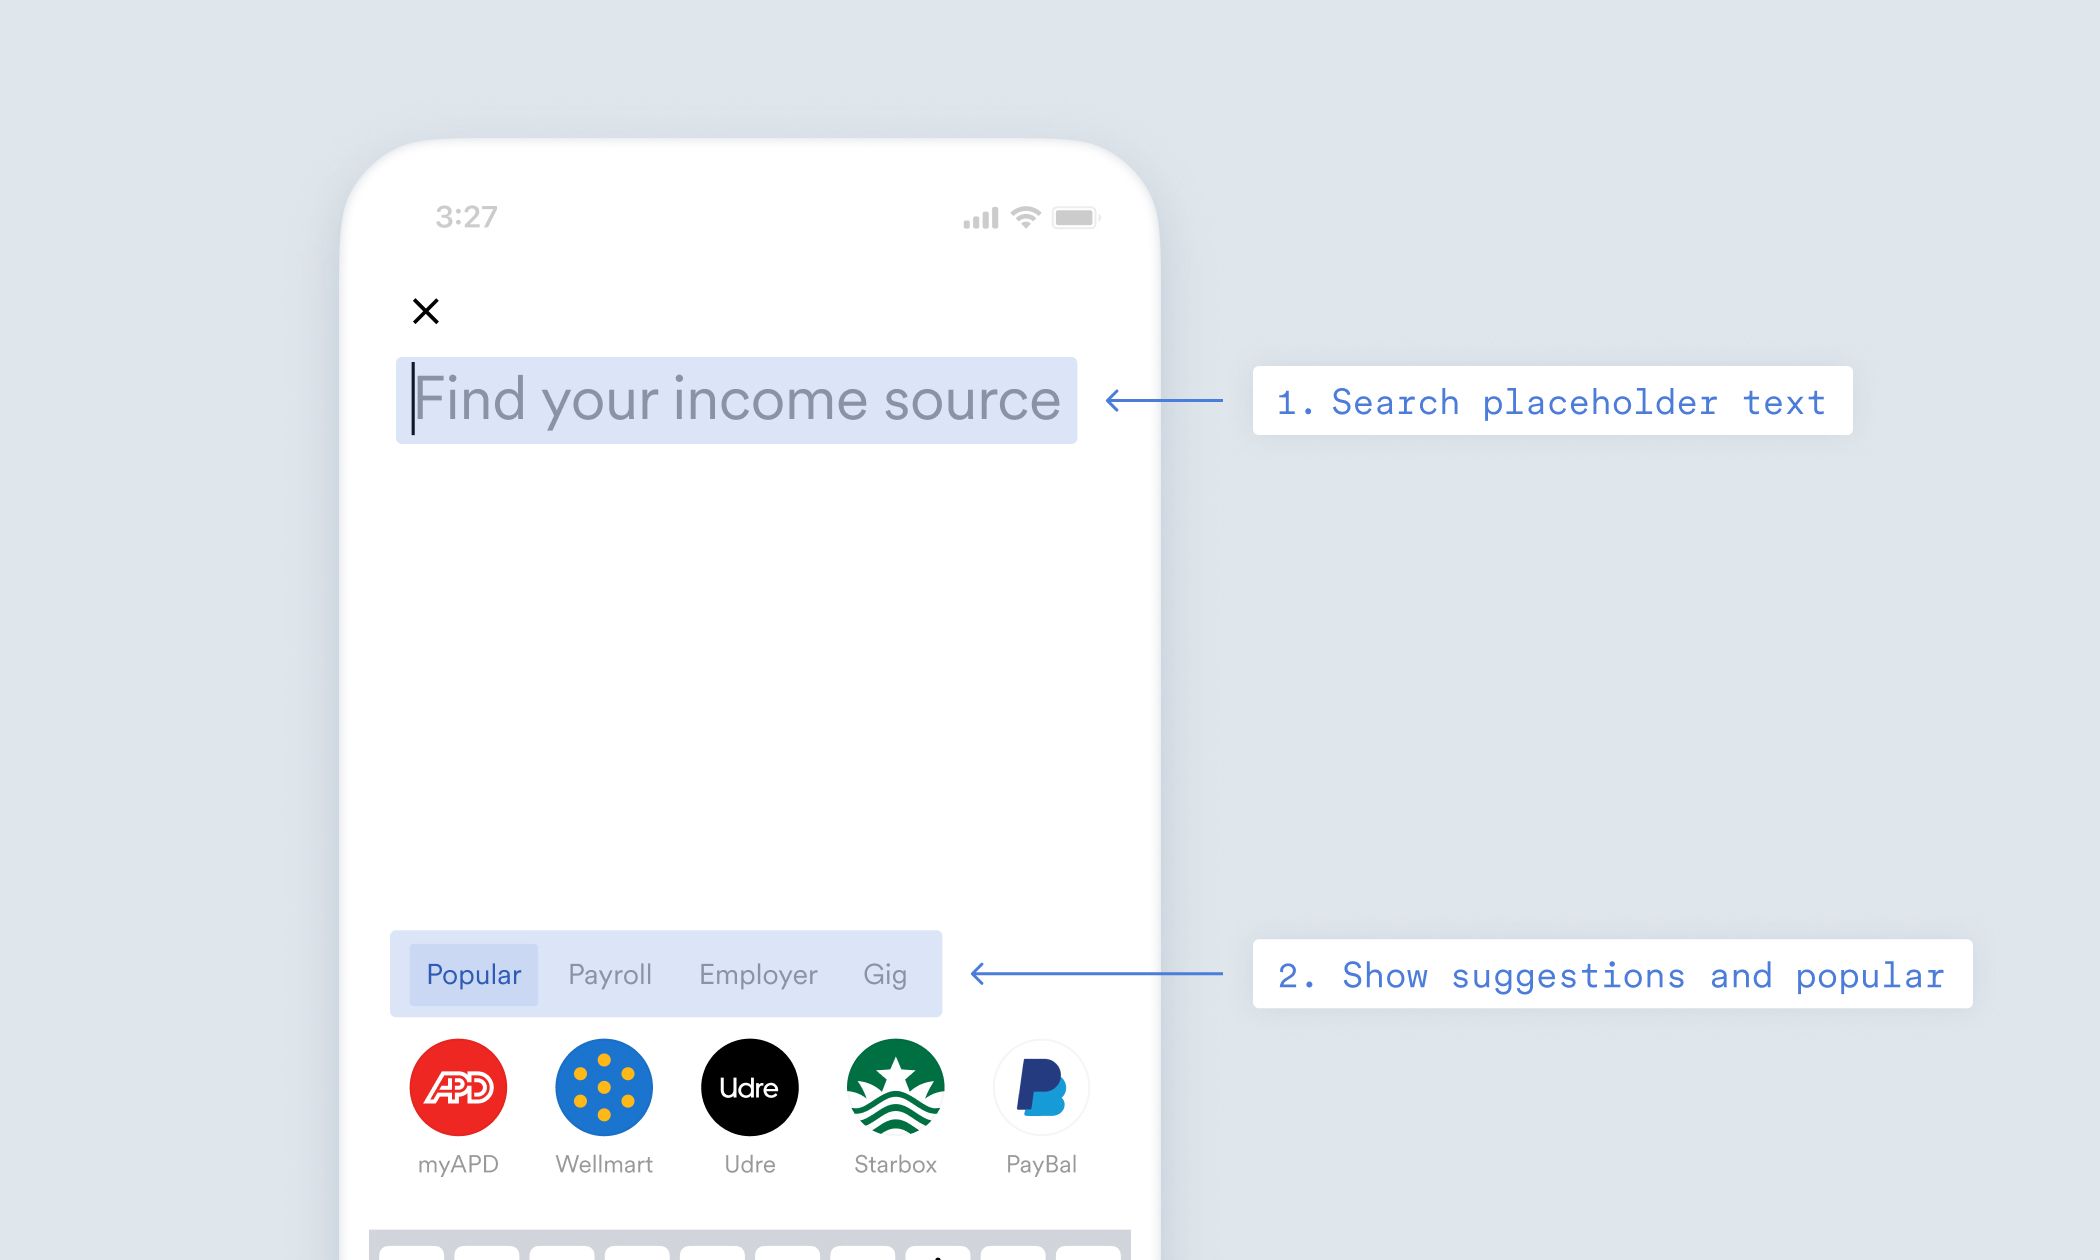
“If no results” experience
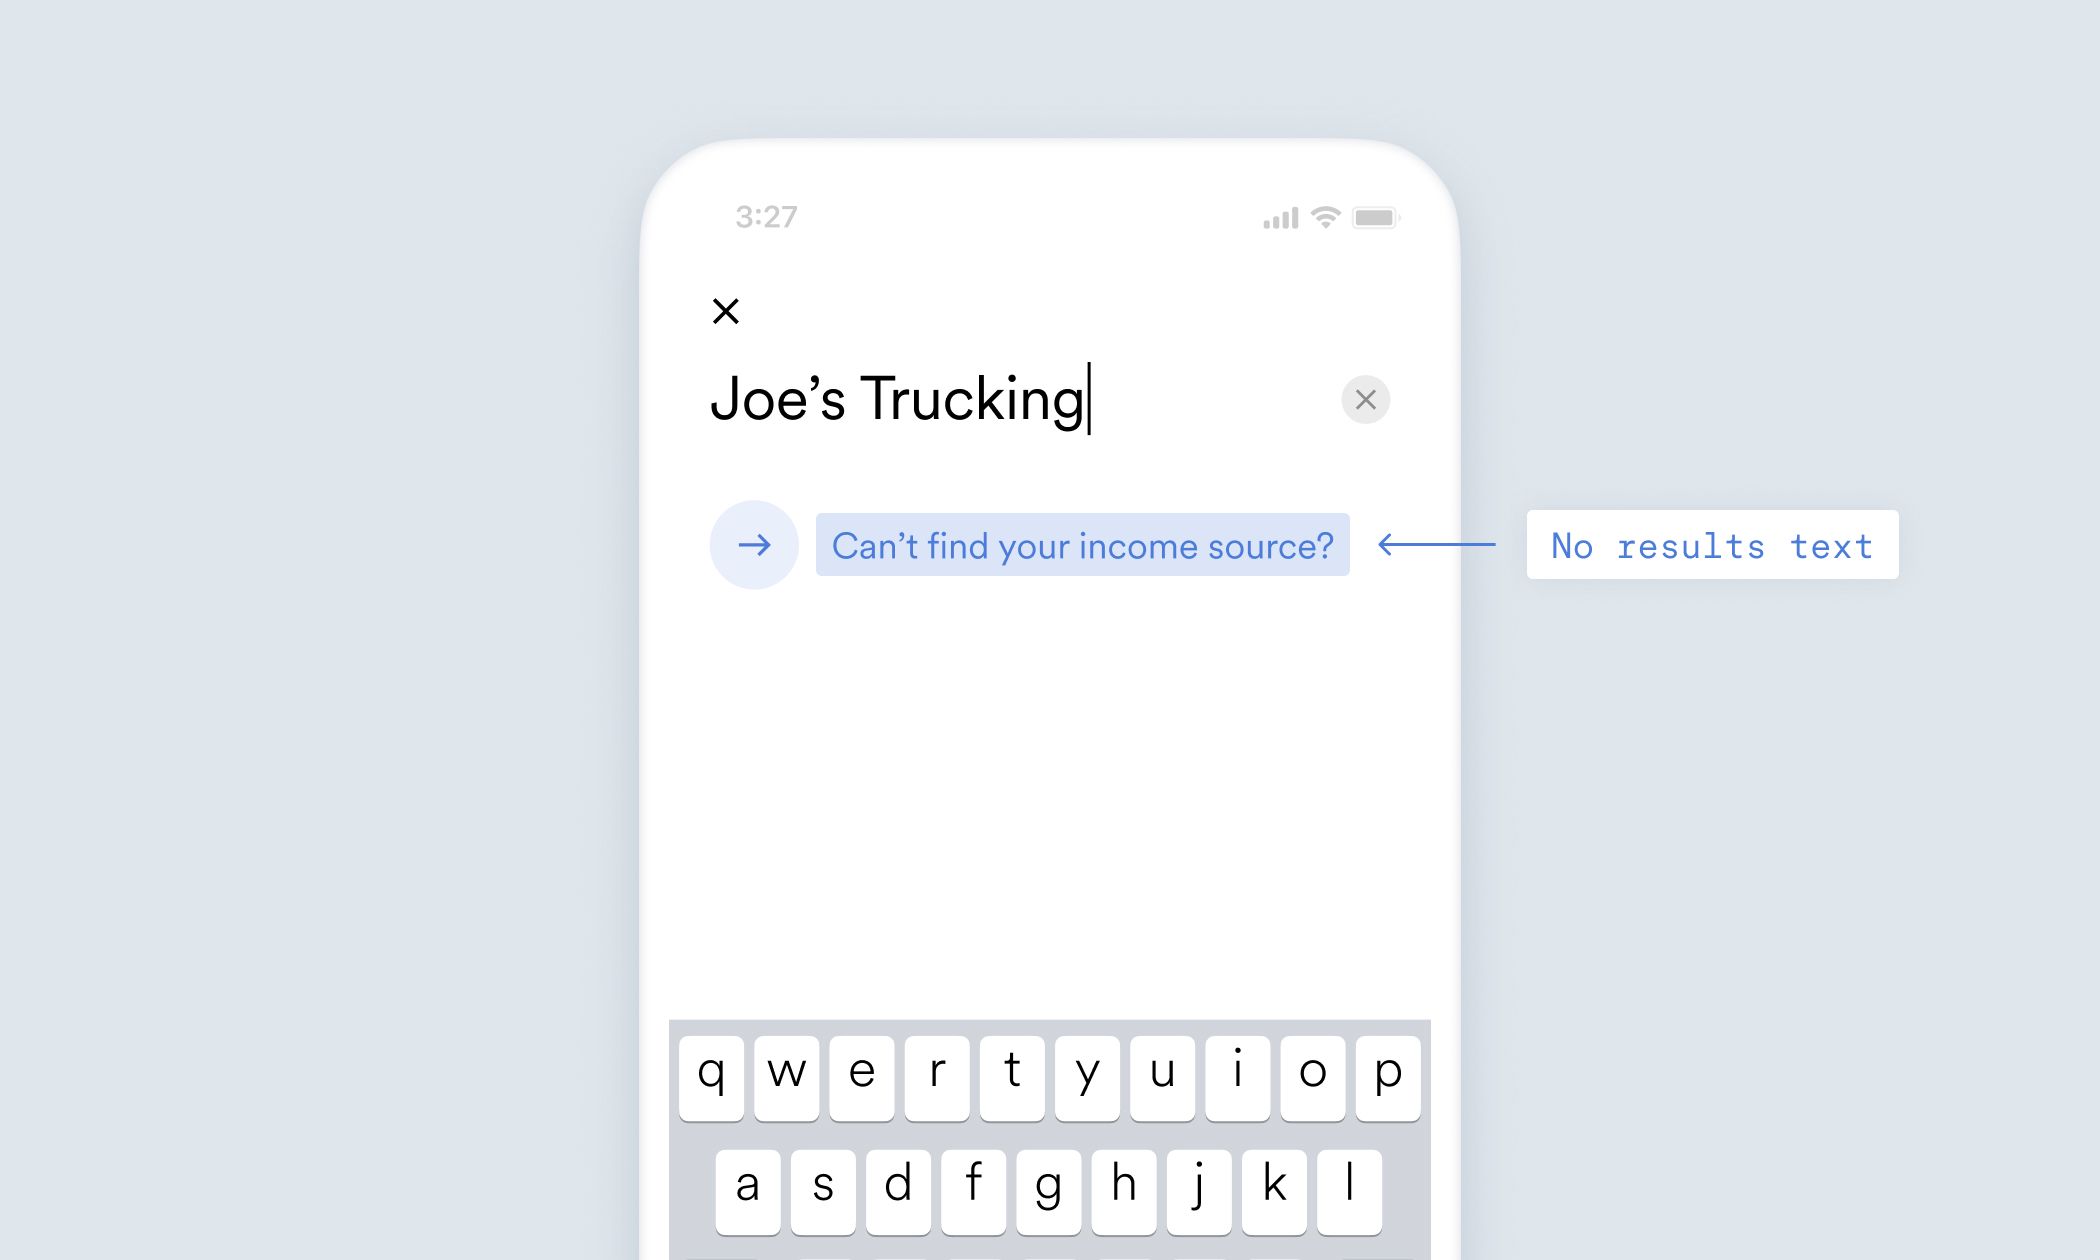
This experience provides alternative flows for your users if they cannot find their income source or payroll provider.- If the user cannot find their income source on Link’s Search screen, they can select the Can’t find your income source? button and search among the payroll providers covered by Argyle to access their accounts.
- If the user cannot find their payroll provider, you can direct them to the Form or Document upload experiences.
If you only enable “Gig” Link items in the set available income sources screen, the Can’t find your income source? button excludes this payroll provider search option from the flow and directs users to the Form or the Document upload experiences.
Login screen
On the Login screen, you can elect to enable the manual verification flow for users who are not able to log in to their payroll account. See the table to understand which features of this flow can be customized: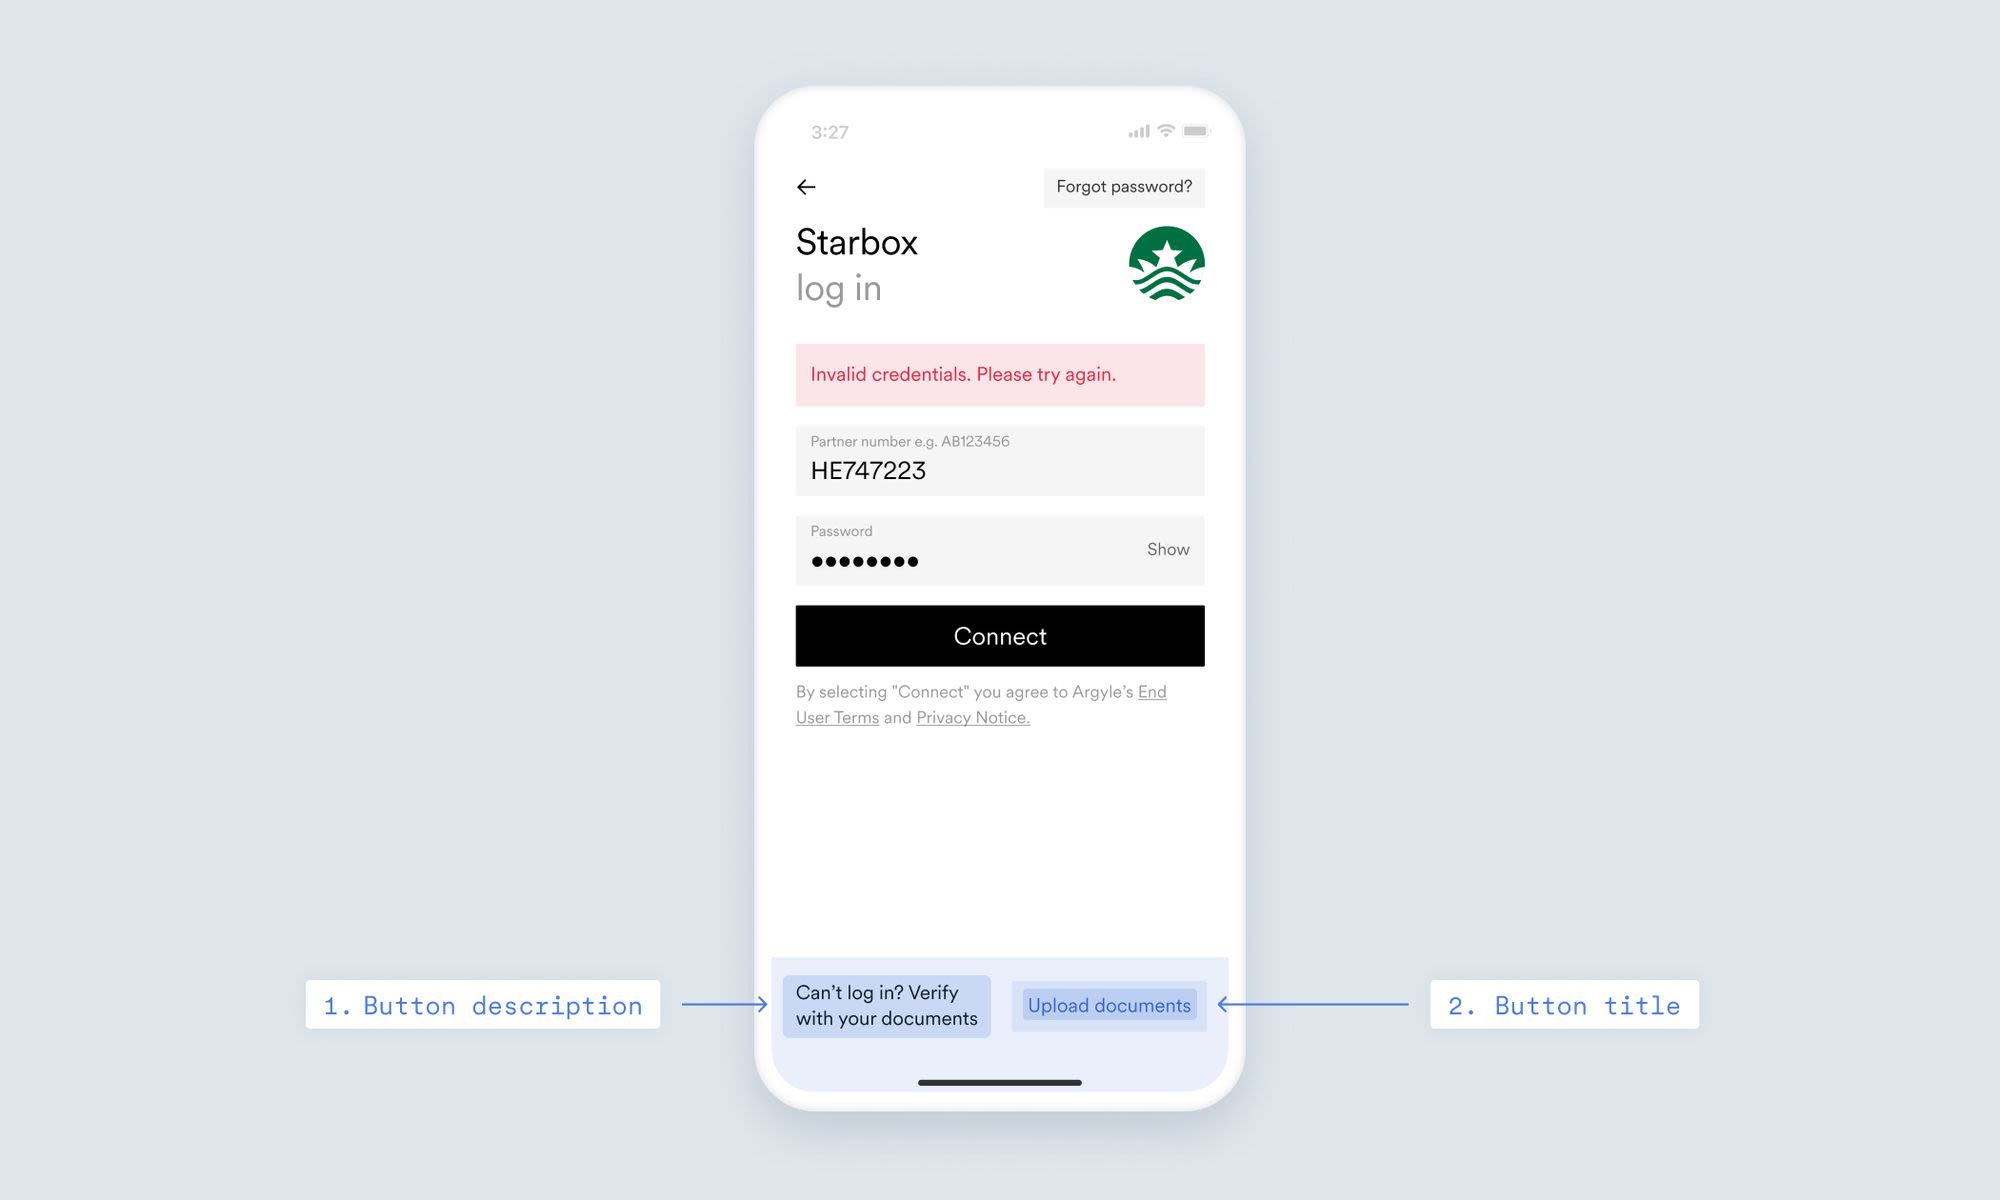
Success screen
When users successfully connect their account, they see a Success screen. Here you can customize: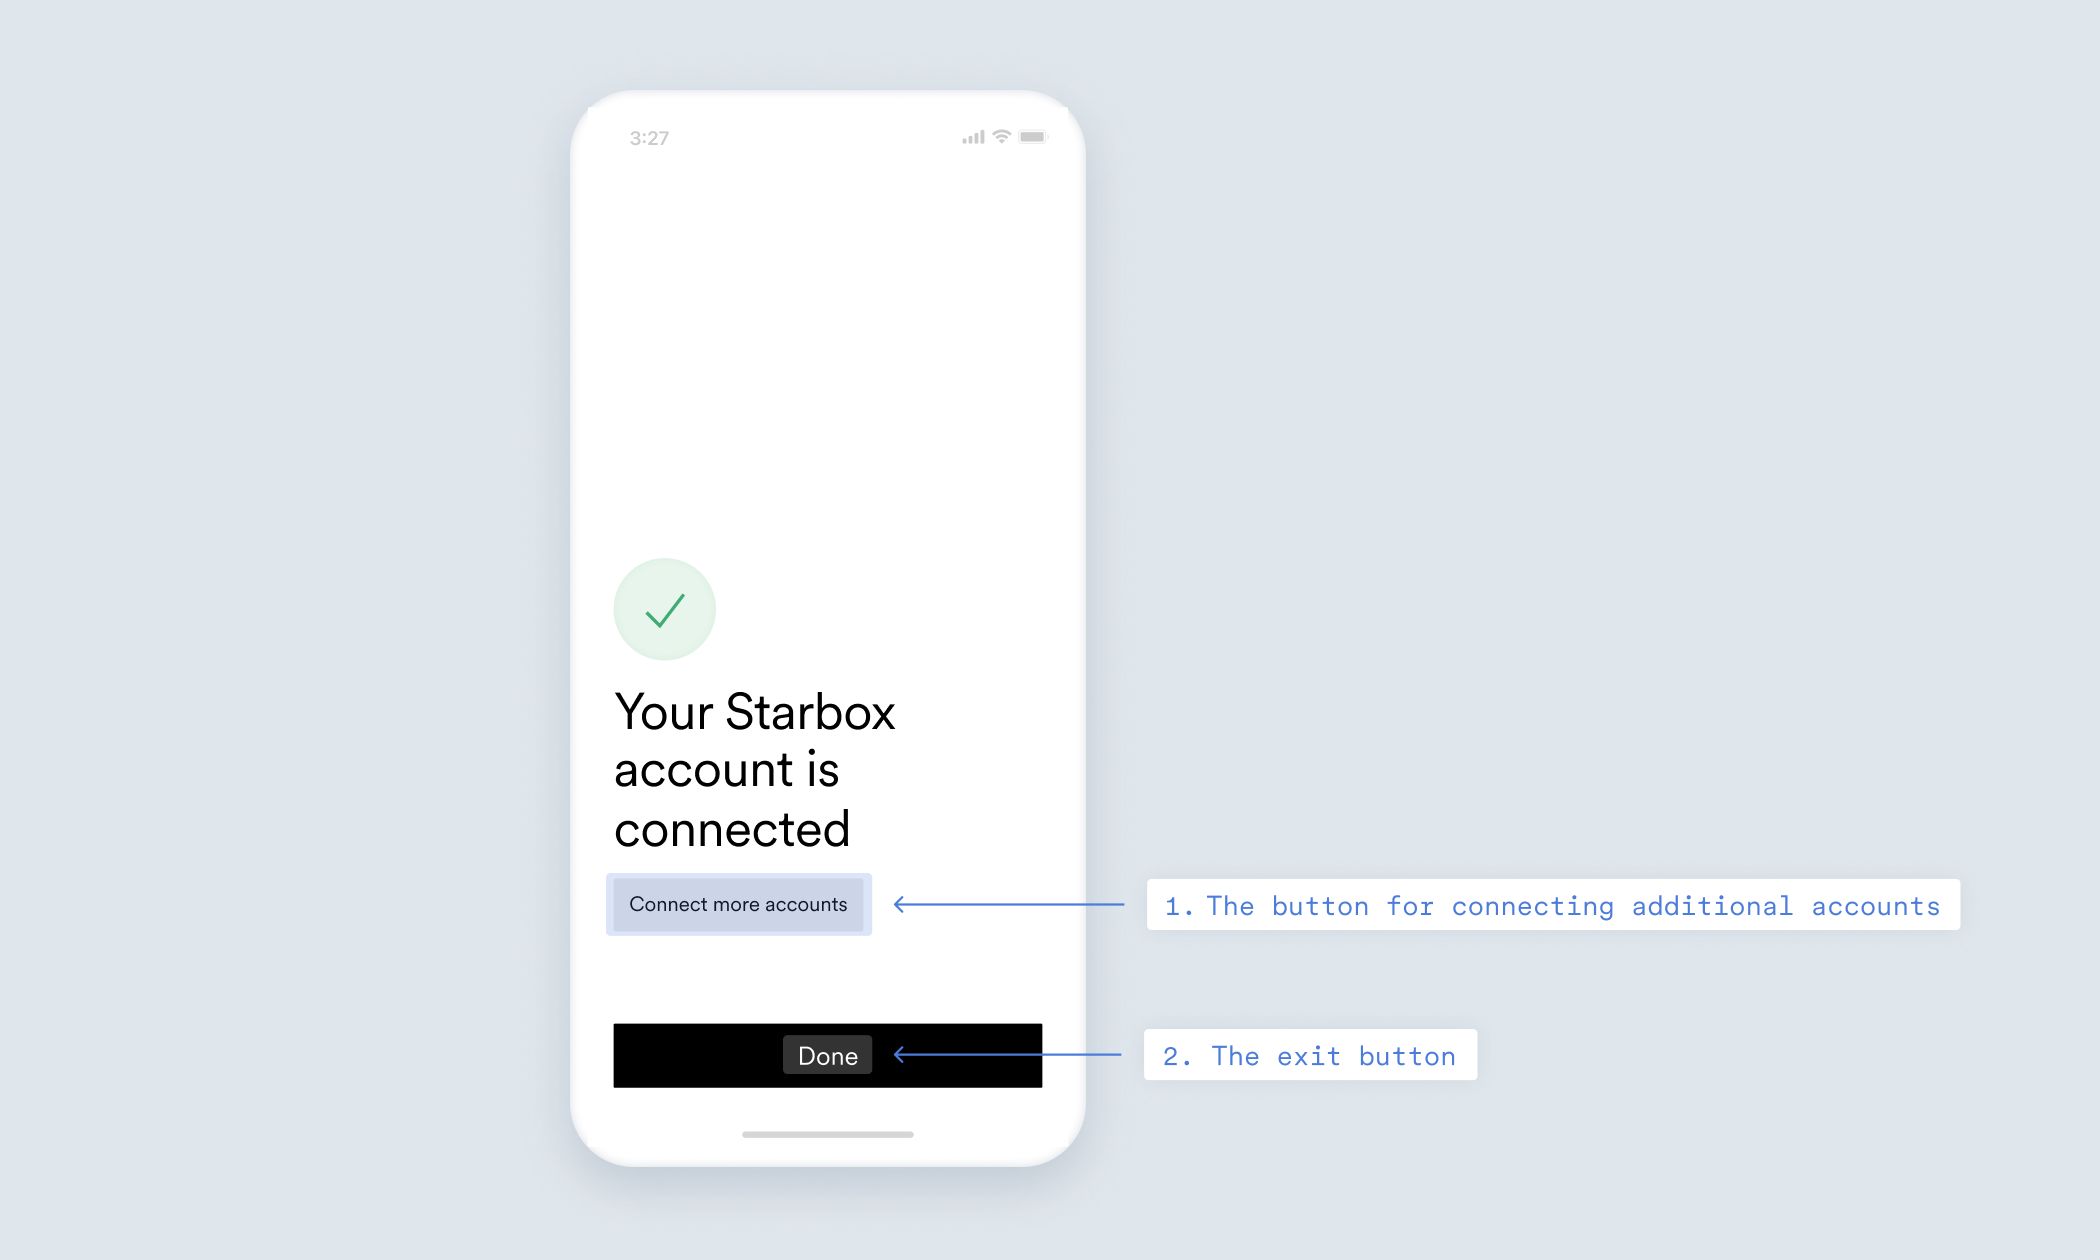
Global UI settings
Global UI settings are settings that apply on multiple screens throughout Link. Navigate to the Global UI settings to customize: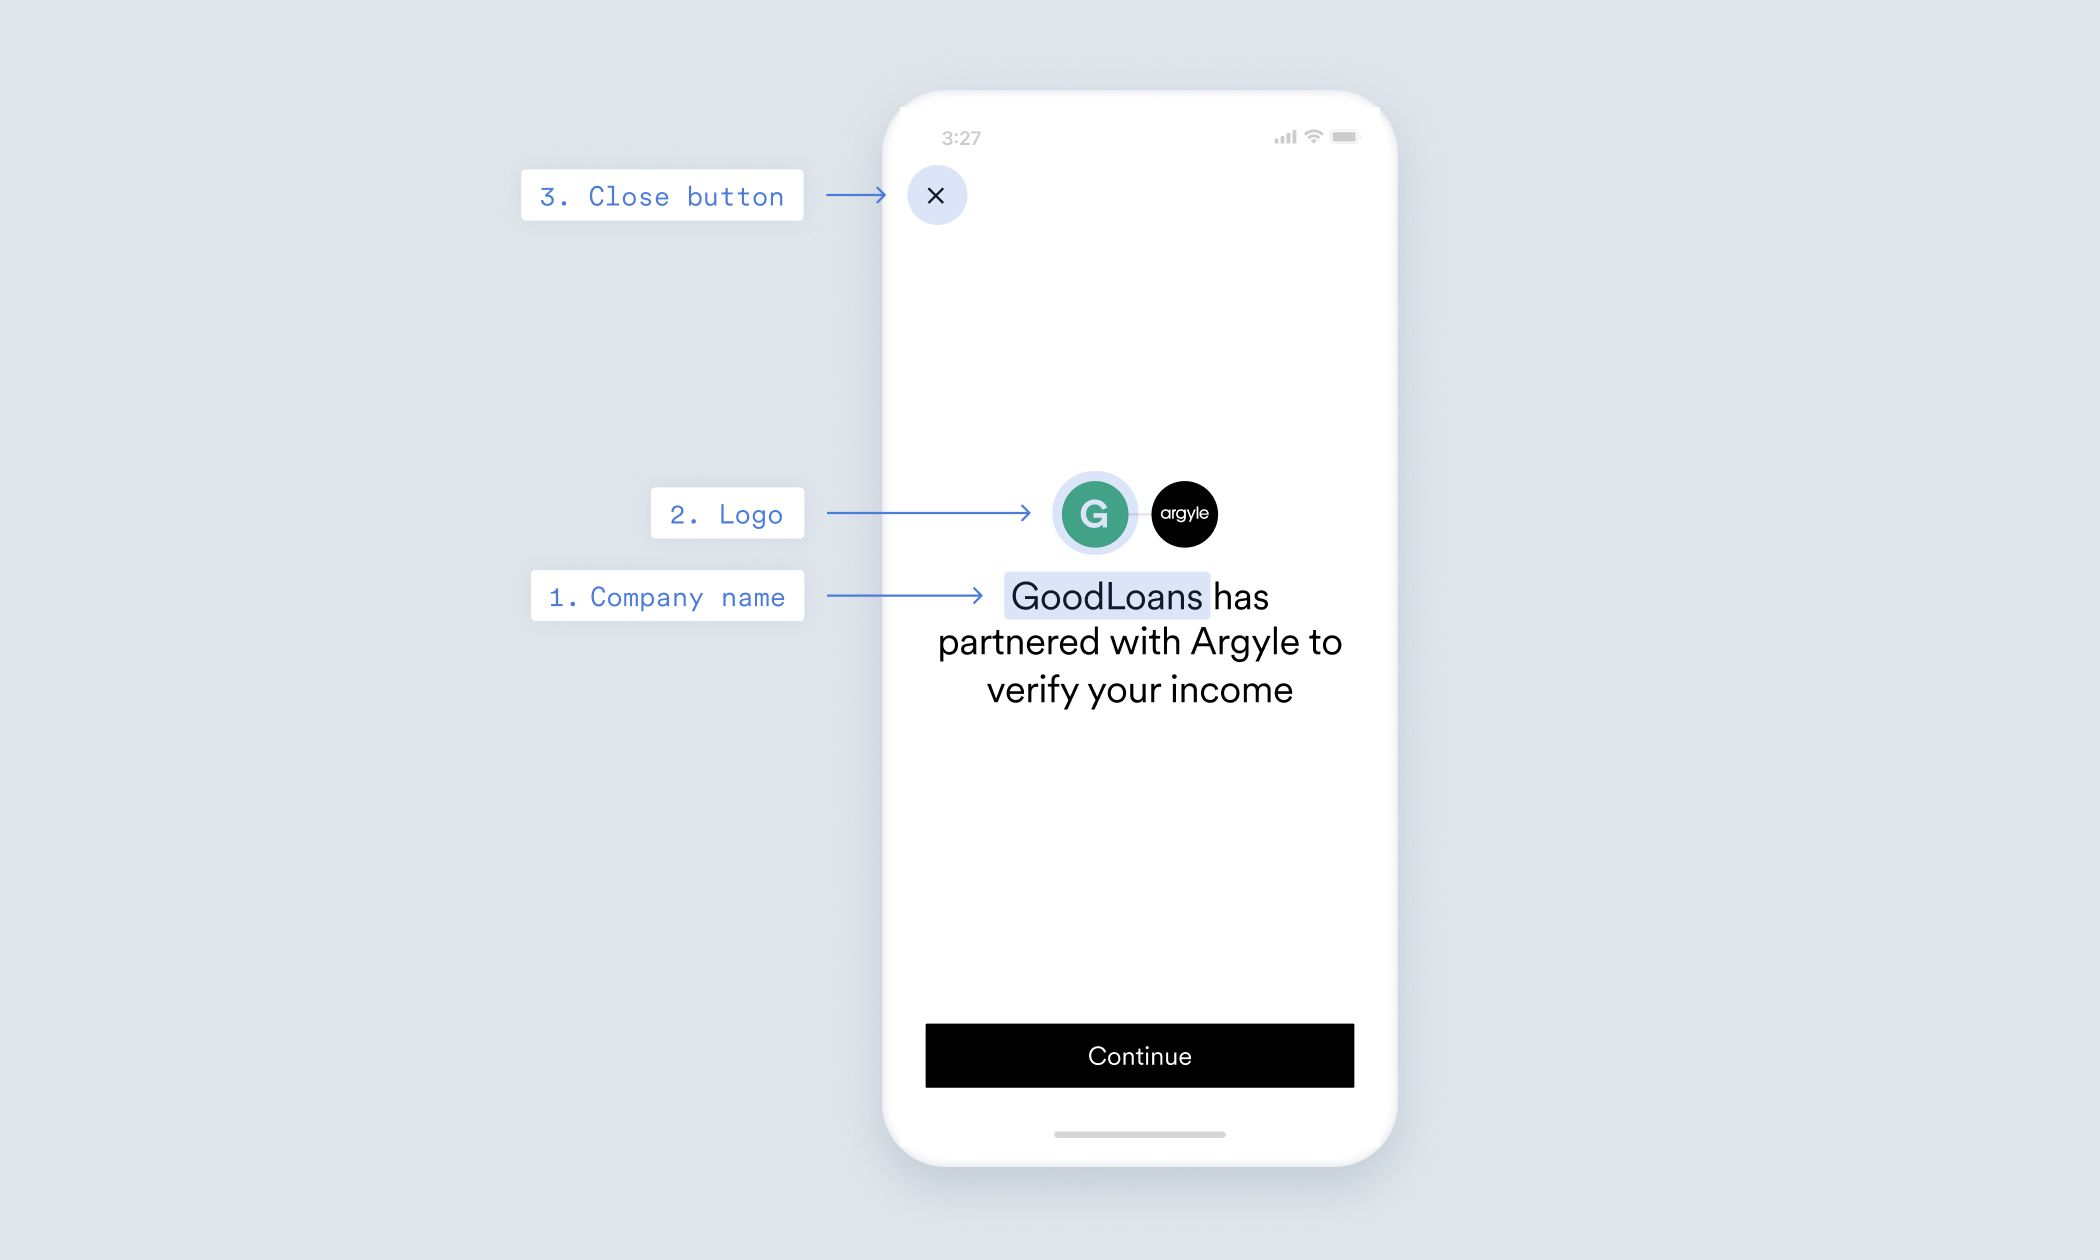
Document upload settings
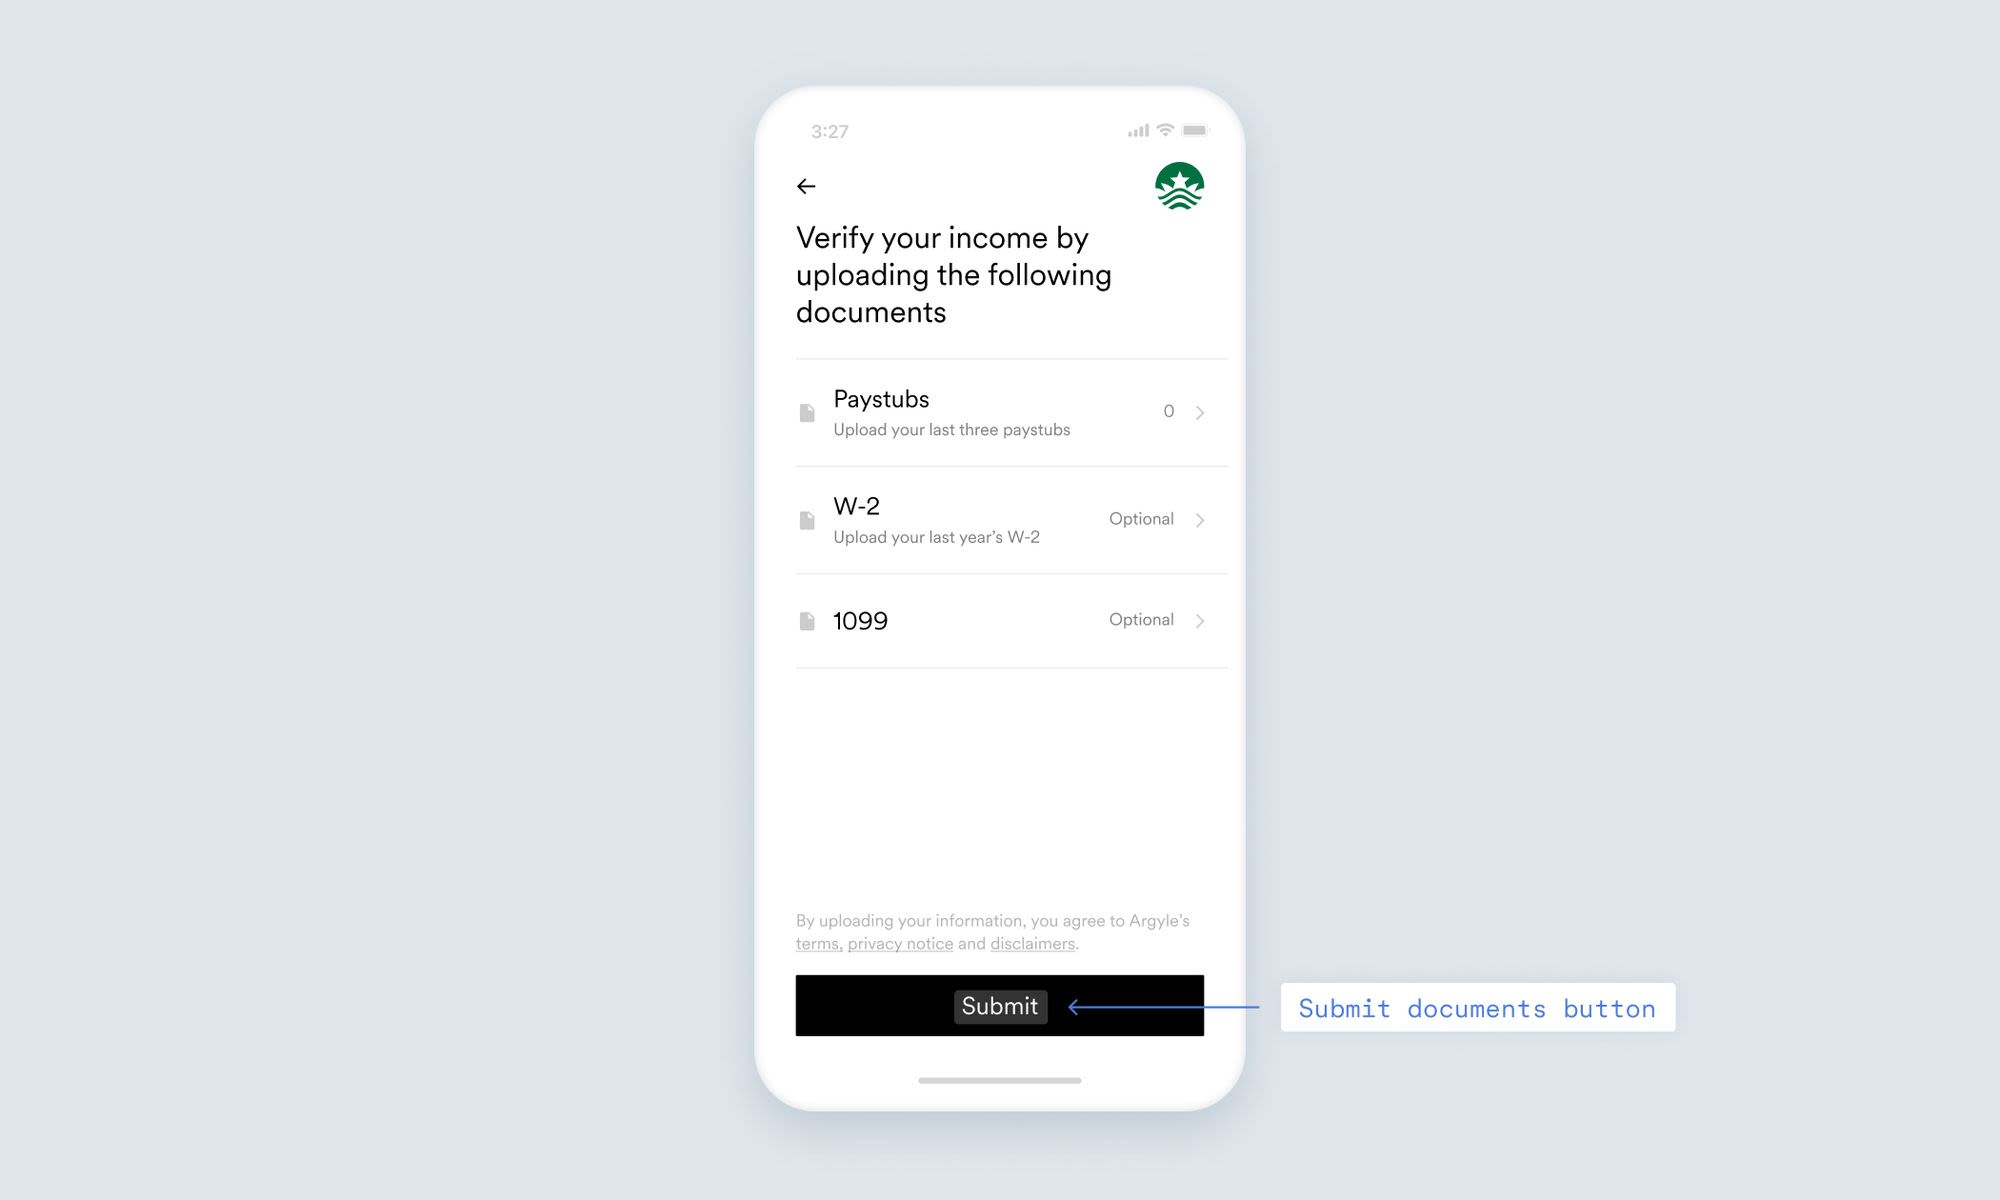
Visit the Document upload settings to configure document upload options for your users. Customize these features:
To learn more about the document upload flow, consult our document uploading documentation.
Preview your customization
Click the Preview button in the top right corner of the screen to see a preview of your customization with all changes applied. Click Exit Preview Mode to return to the Customization settings screens.Customizations in Emulator
To test the functionality of your customization before applying changes in your Link instance, navigate to Flows. Select a customization to view the changes you have made.Applying customizations
Once you have created your customization, copy the Customization ID from the main Flows screen and insert it into your Link configuration file to apply changes in your software.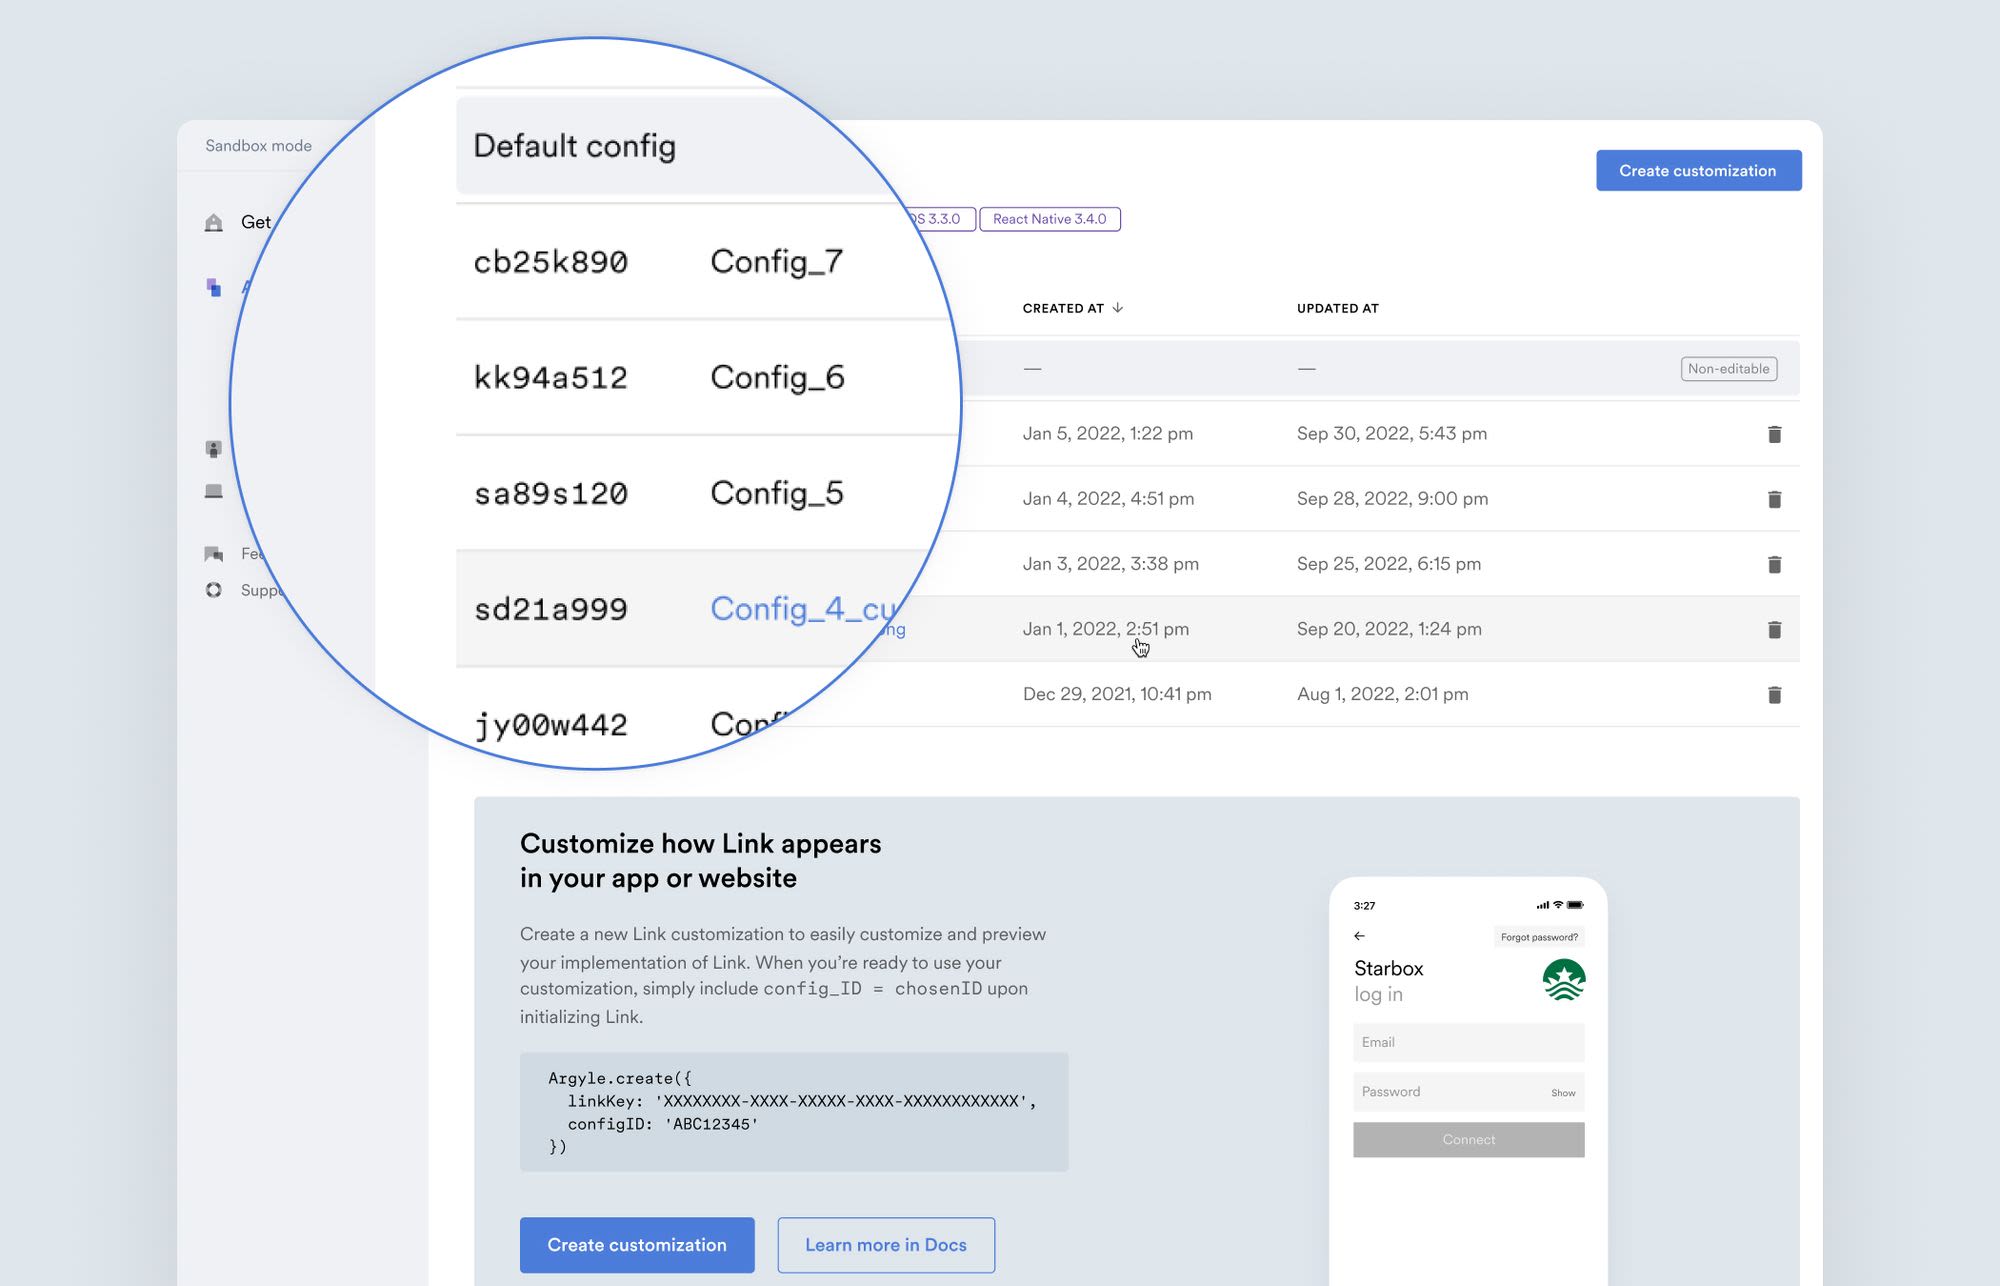
Example customization
- Web
- iOS
- Android
- React Native
Customize deep linking and direct deposit switching settings
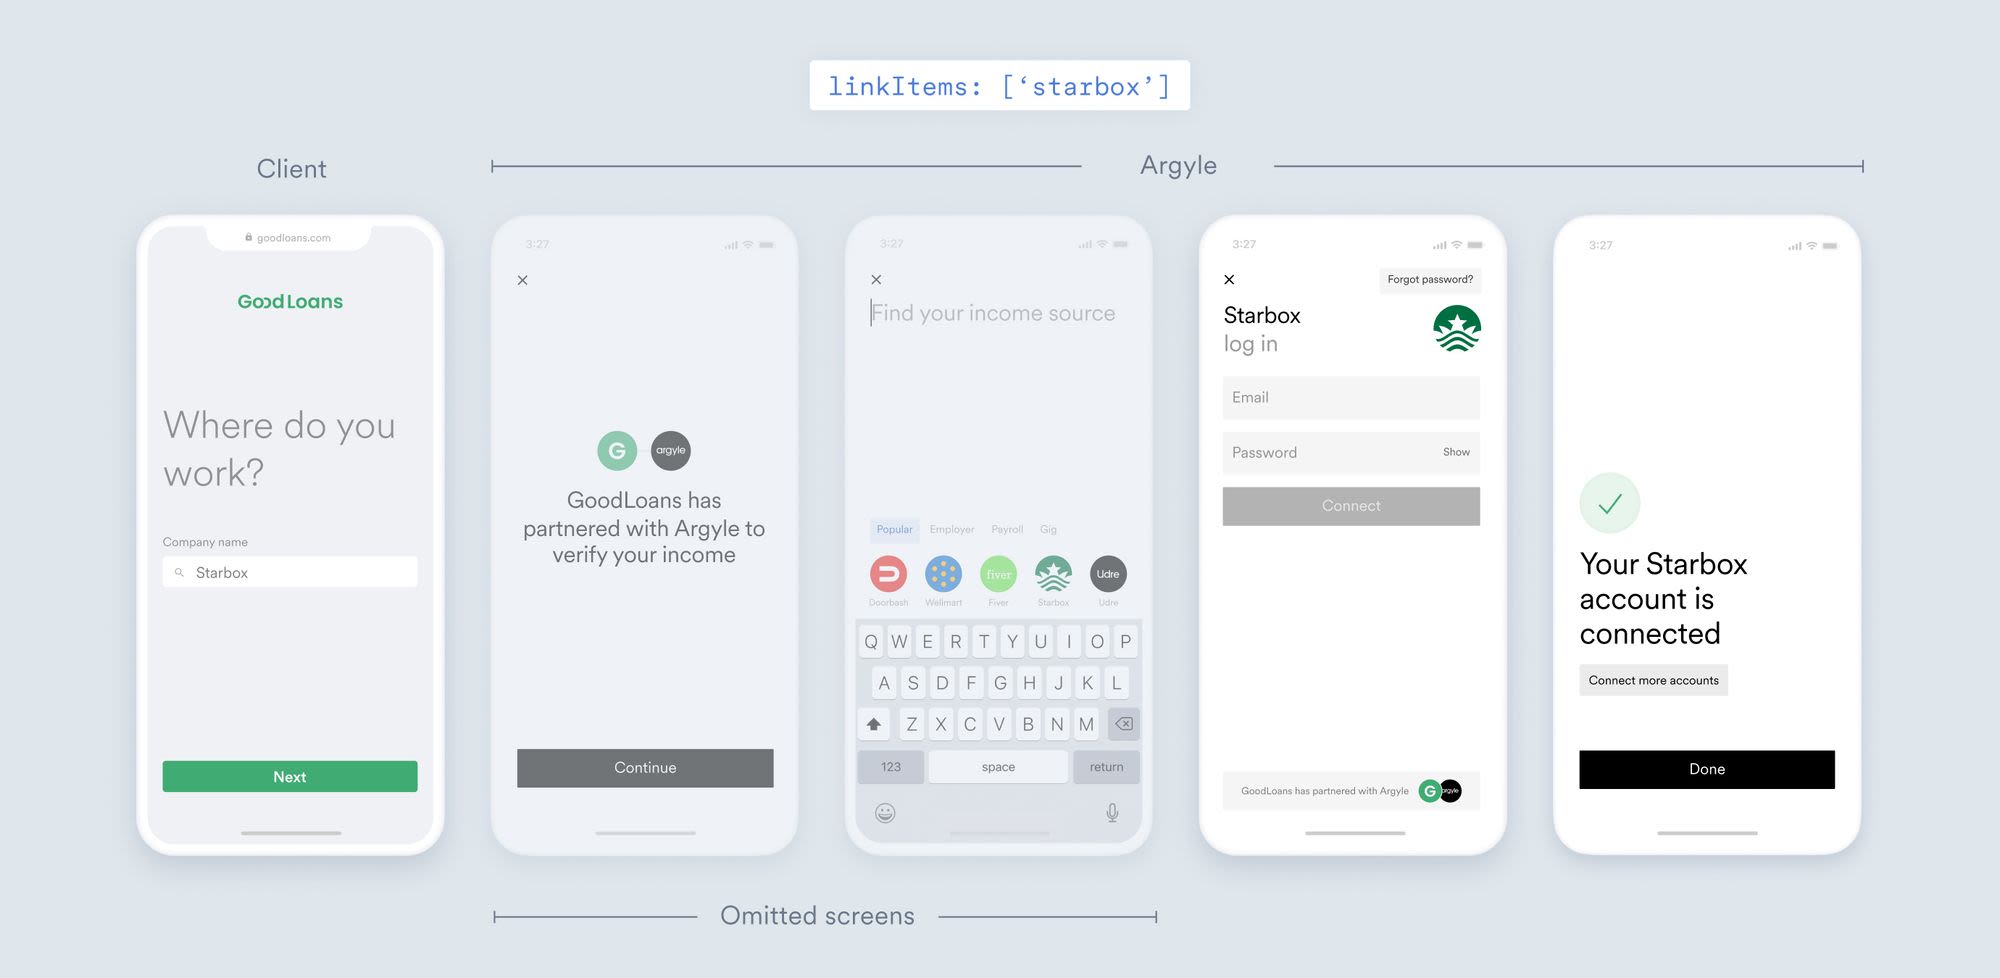
Some parameters cannot be customized via Flows. Learn how to customize these features in your Argyle Link instance programmatically by editing the Link configuration file. This section demonstrates how each of these parameters appears on Link. For a list of all parameters and their usage, refer to our Link configuration parameters reference.Deep link users to the login screen
If you pass only one value in thelinkItems parameter, then the Search screen will be omitted and the user will land directly on the Login screen.
Enable direct deposit switching flow
You can enable the direct deposit switching flow to initiate right after an account is linked by includingpayDistributionUpdateFlow and payDistributionConfig in your Argyle Link initialization.
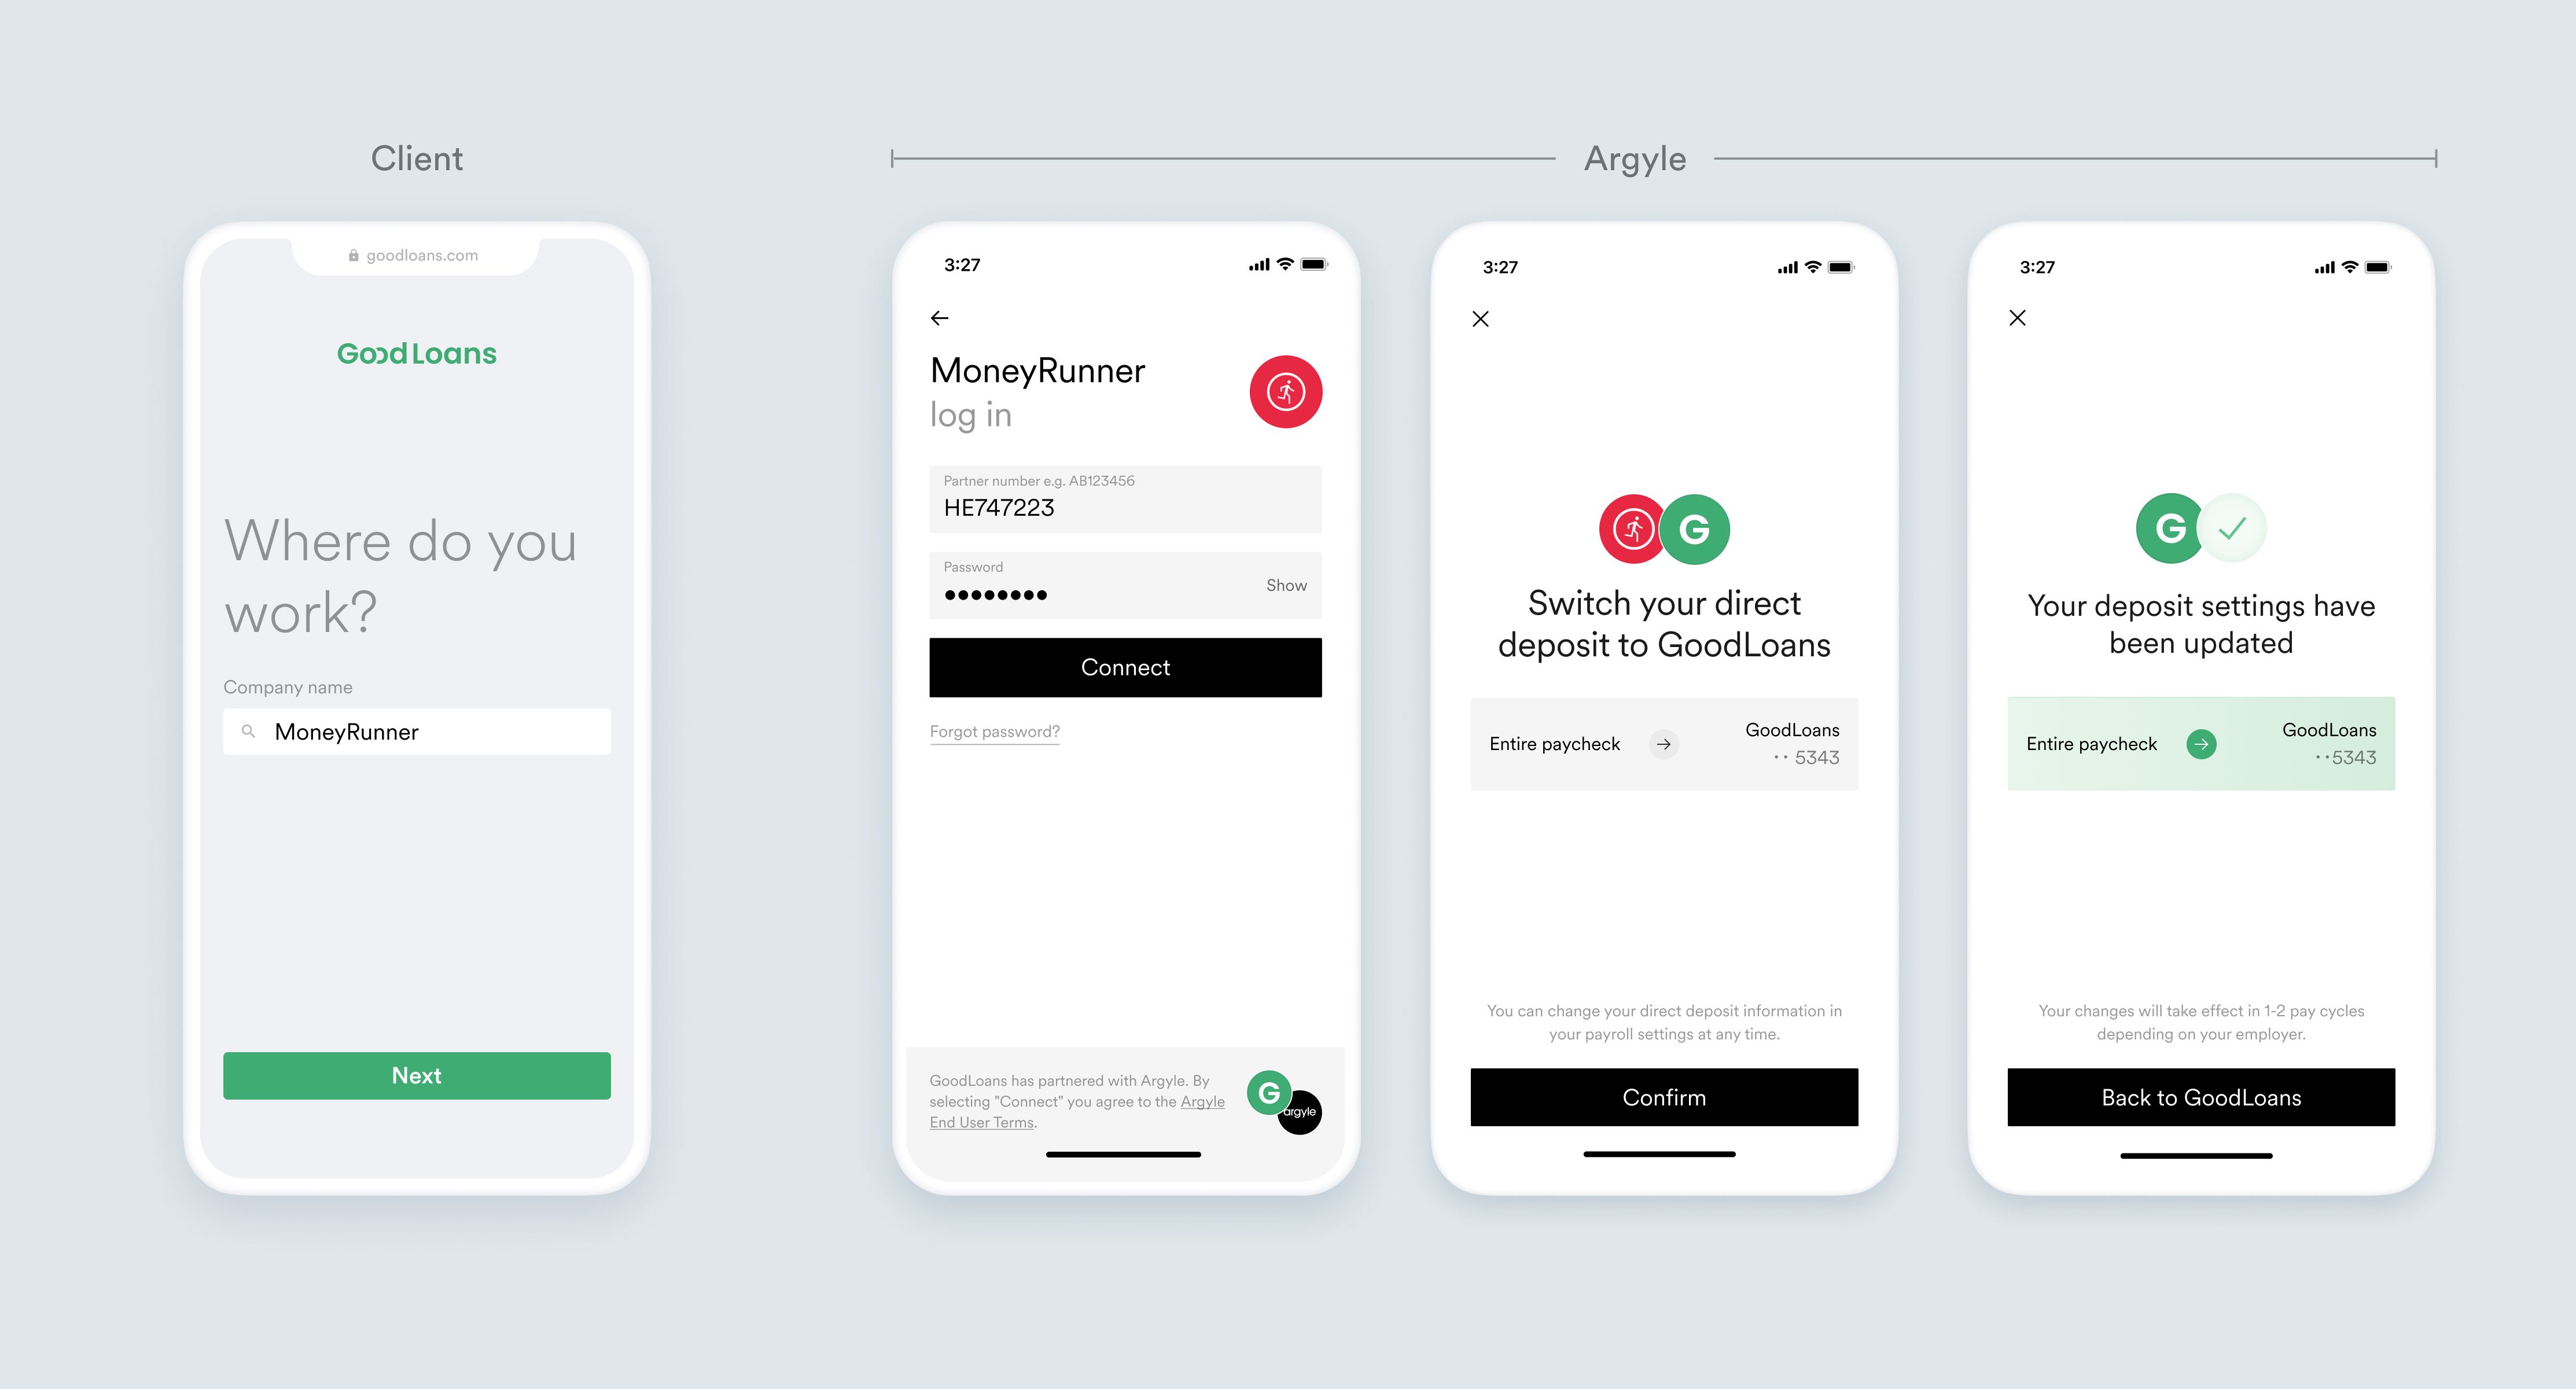 Refer to our direct deposit switching guide for more information.
Display only Link items that allow direct deposit switching
In Argyle Console:- Create a new customization using Flows.
- Enable the setting “Only show Link items that support direct deposit switching”.
- Save and apply your customization by including the following line in your Argyle Link initialization: